How to Tie Your BJJ Belt: A Beginner's Guide
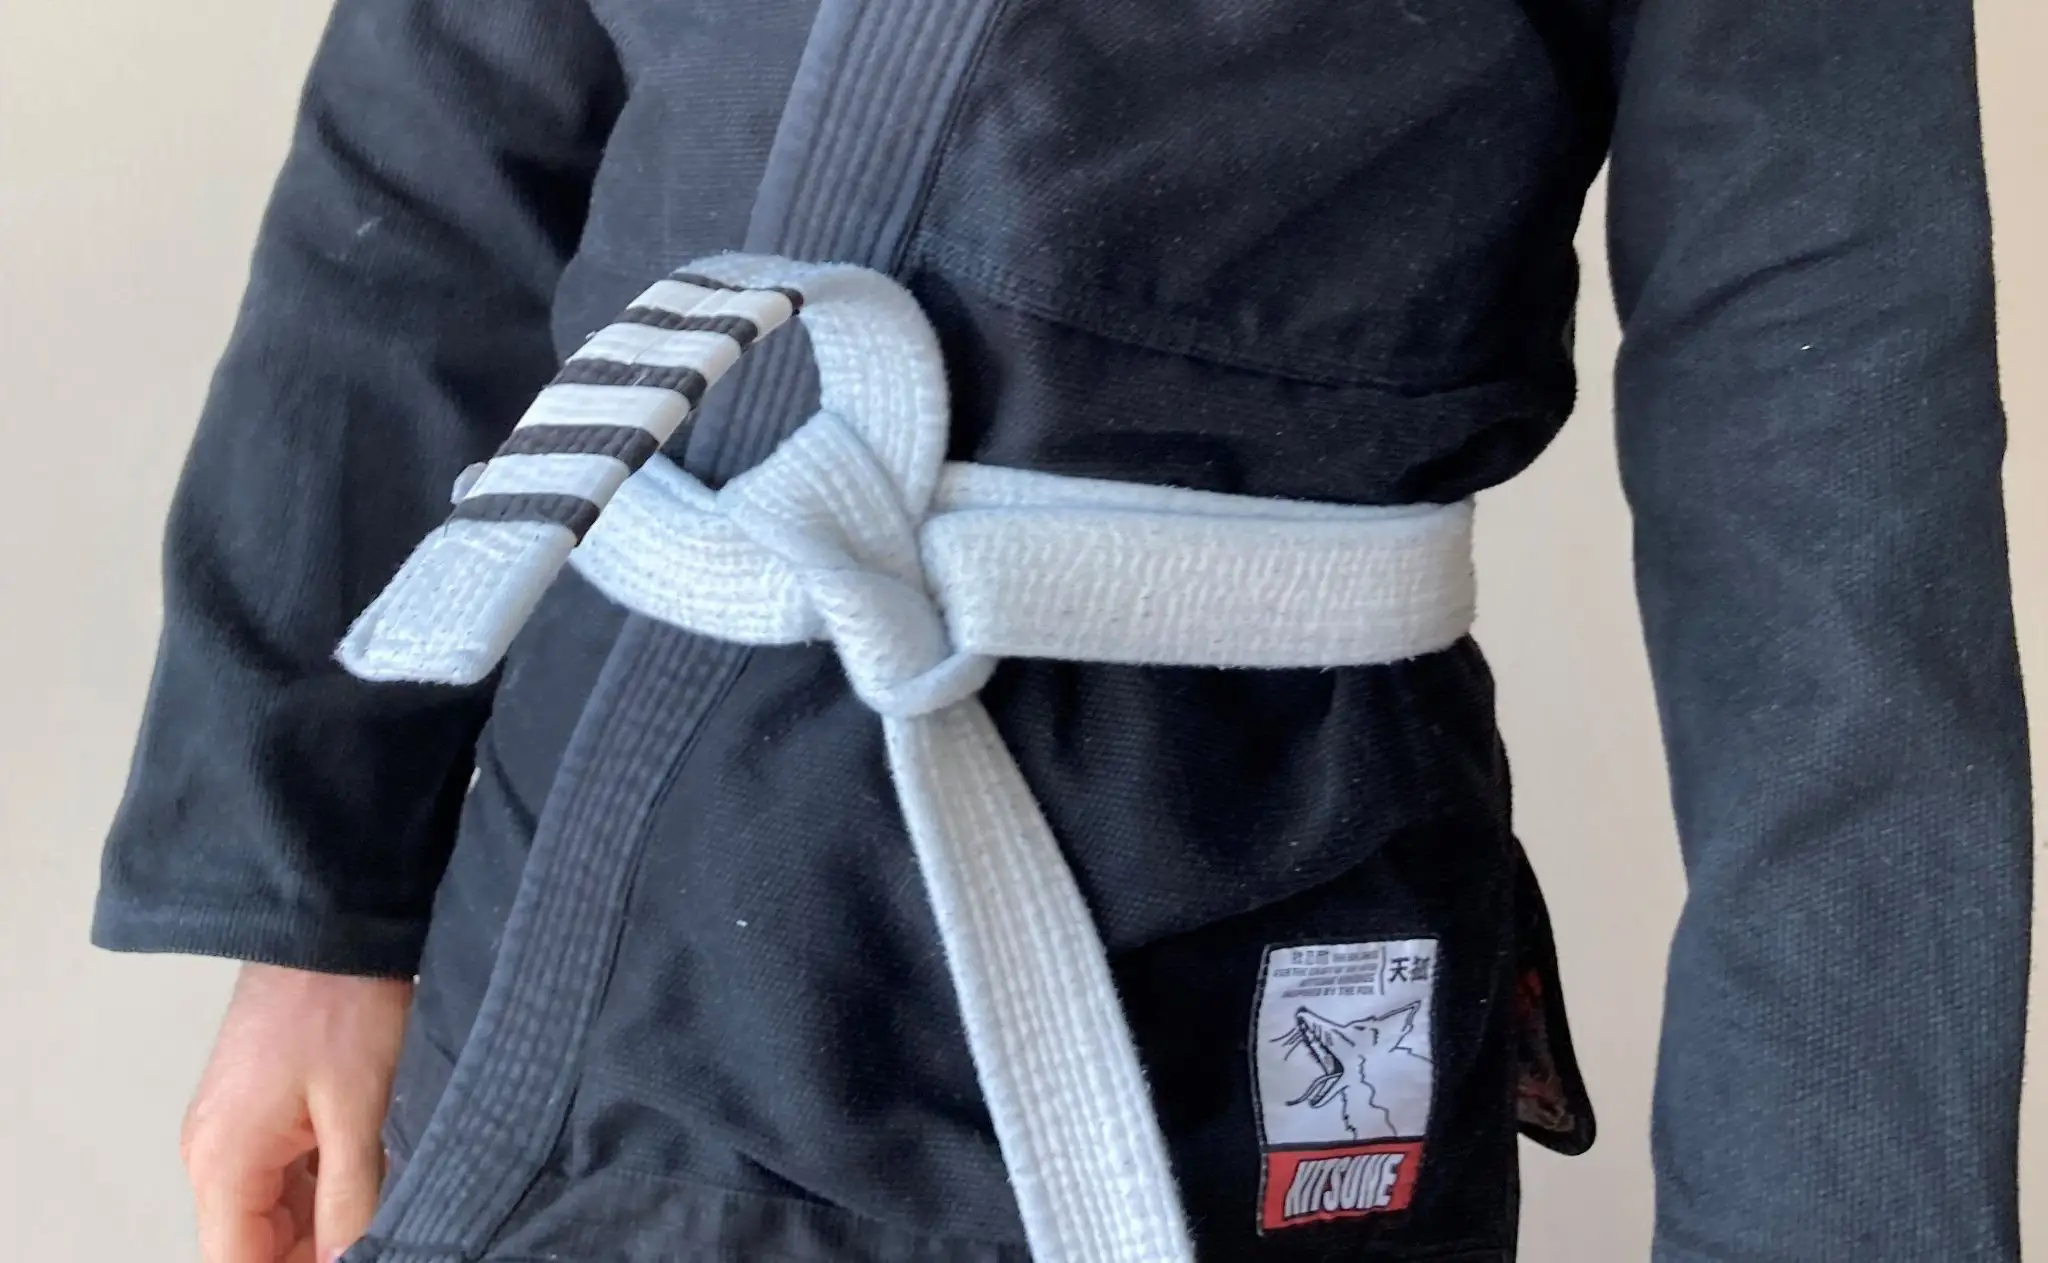
Tying your BJJ belt correctly keeps it secure during training and ensures you look put-together on the mats. Whether you're just starting or looking to refine your technique, our BJJ classes will help you master the fundamentals, including how to tie your belt properly. Skip the hassle of a messy knot that constantly comes undone or looks out of place (see below for an example). Instead, try one of these solid methods: Superlock Variation or Hollywood Variation. Pick the one you prefer and get started!
How To Tie BJJ Belt Super Lock Variation
1. Ensure your gi jacket is worn correctly
Wearing your gi properly ensures a clean look and helps keep the belt secure during training. Fold the right side underneath the left side for a traditional fit.
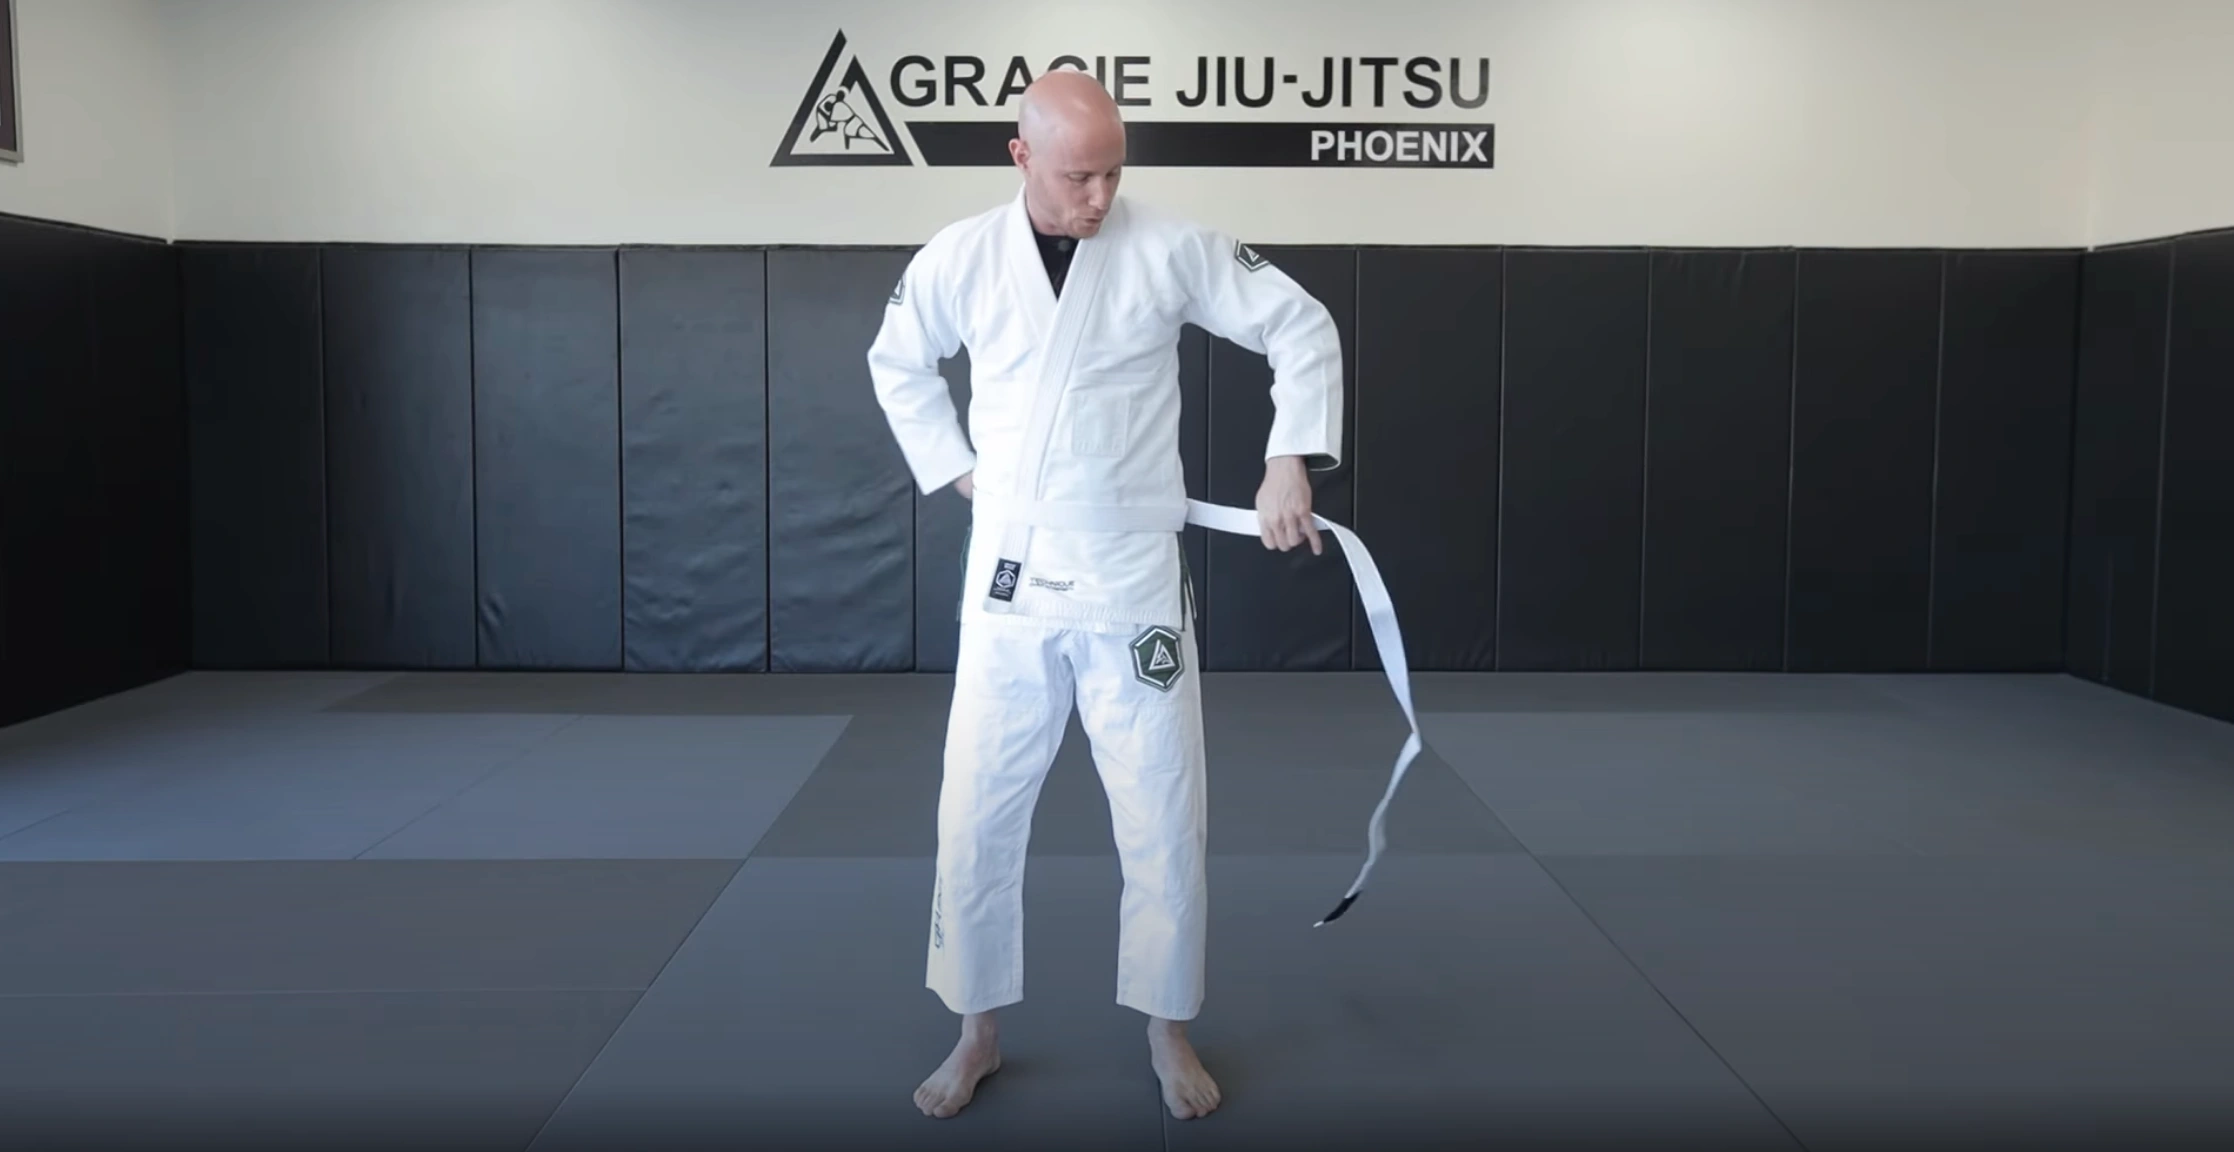
2. Place the middle of the belt below your belly button
Take the center of your belt and place it just below your belly button. This ensures the belt sits evenly when wrapped around your waist.
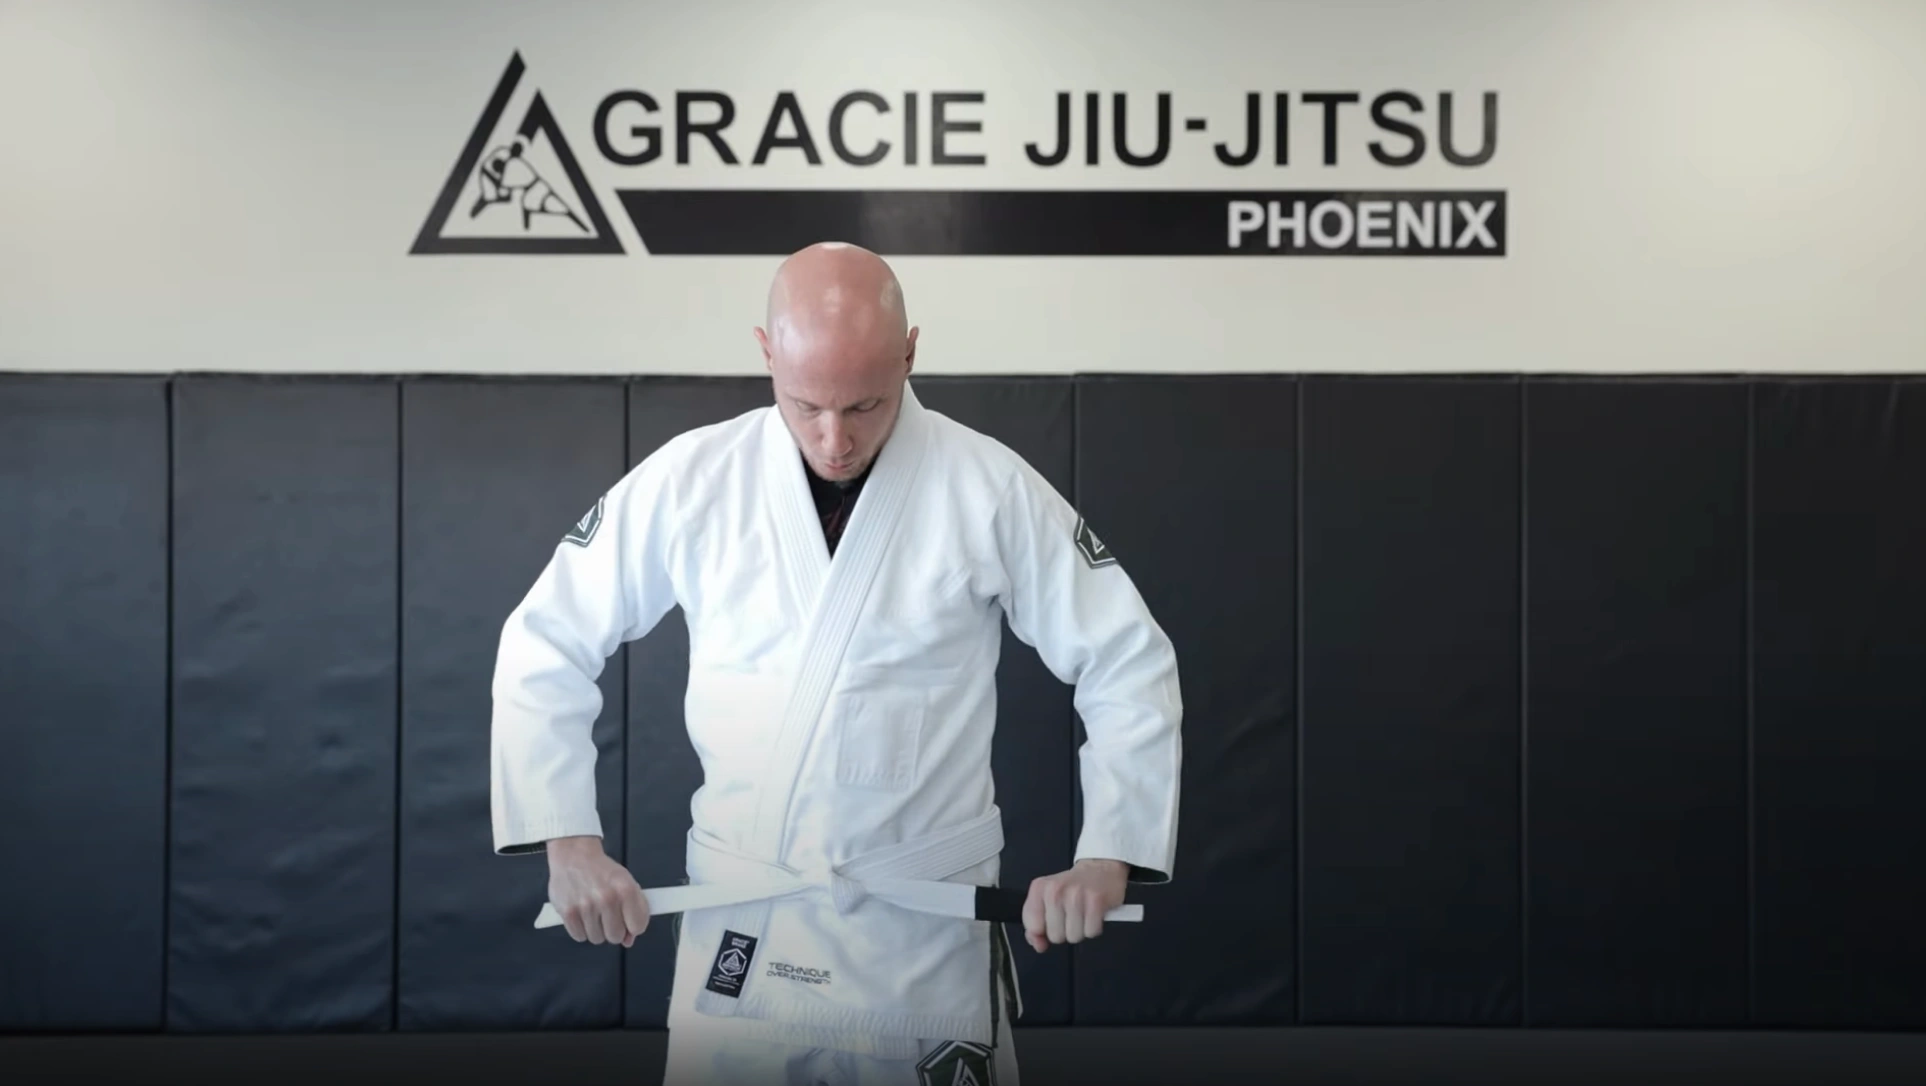
3. Wrap behind your back and swap hands
Wrap the belt around your waist, crossing it behind your back. Swap the ends to the opposite hands and pull them forward evenly, ensuring equal lengths.
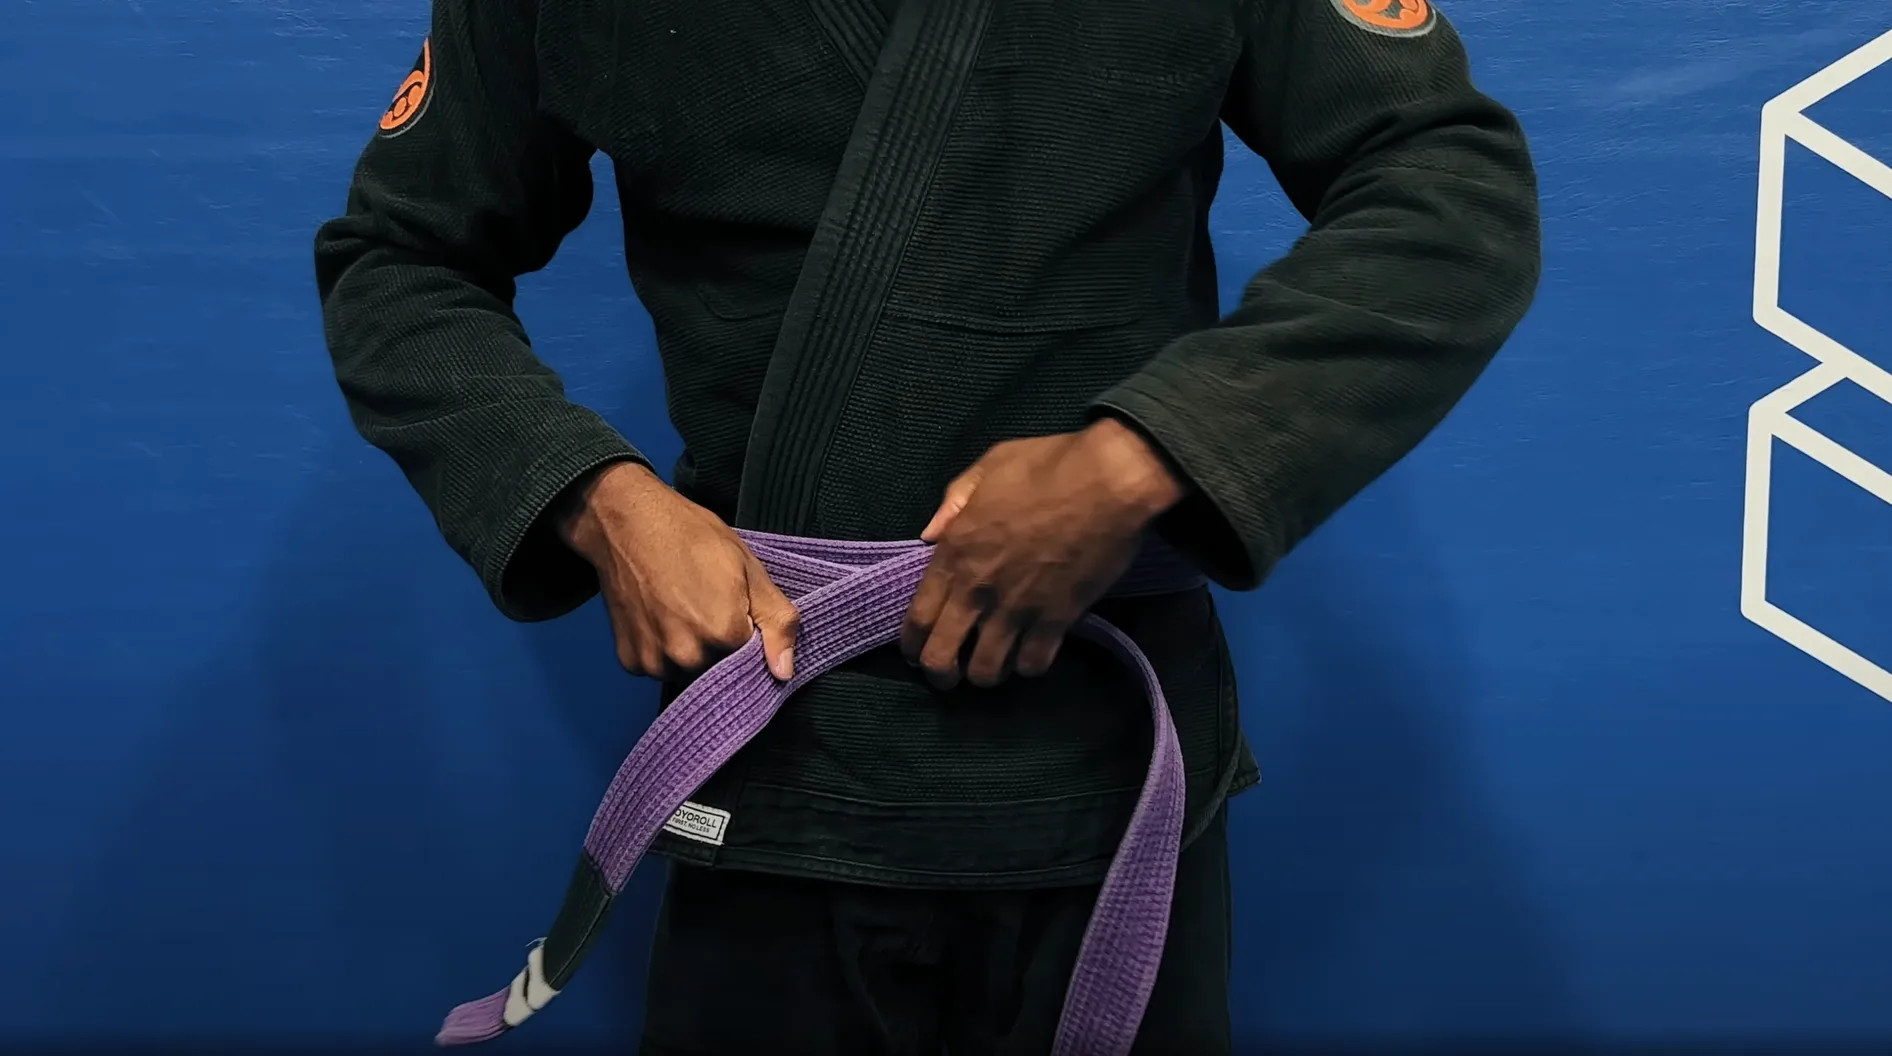
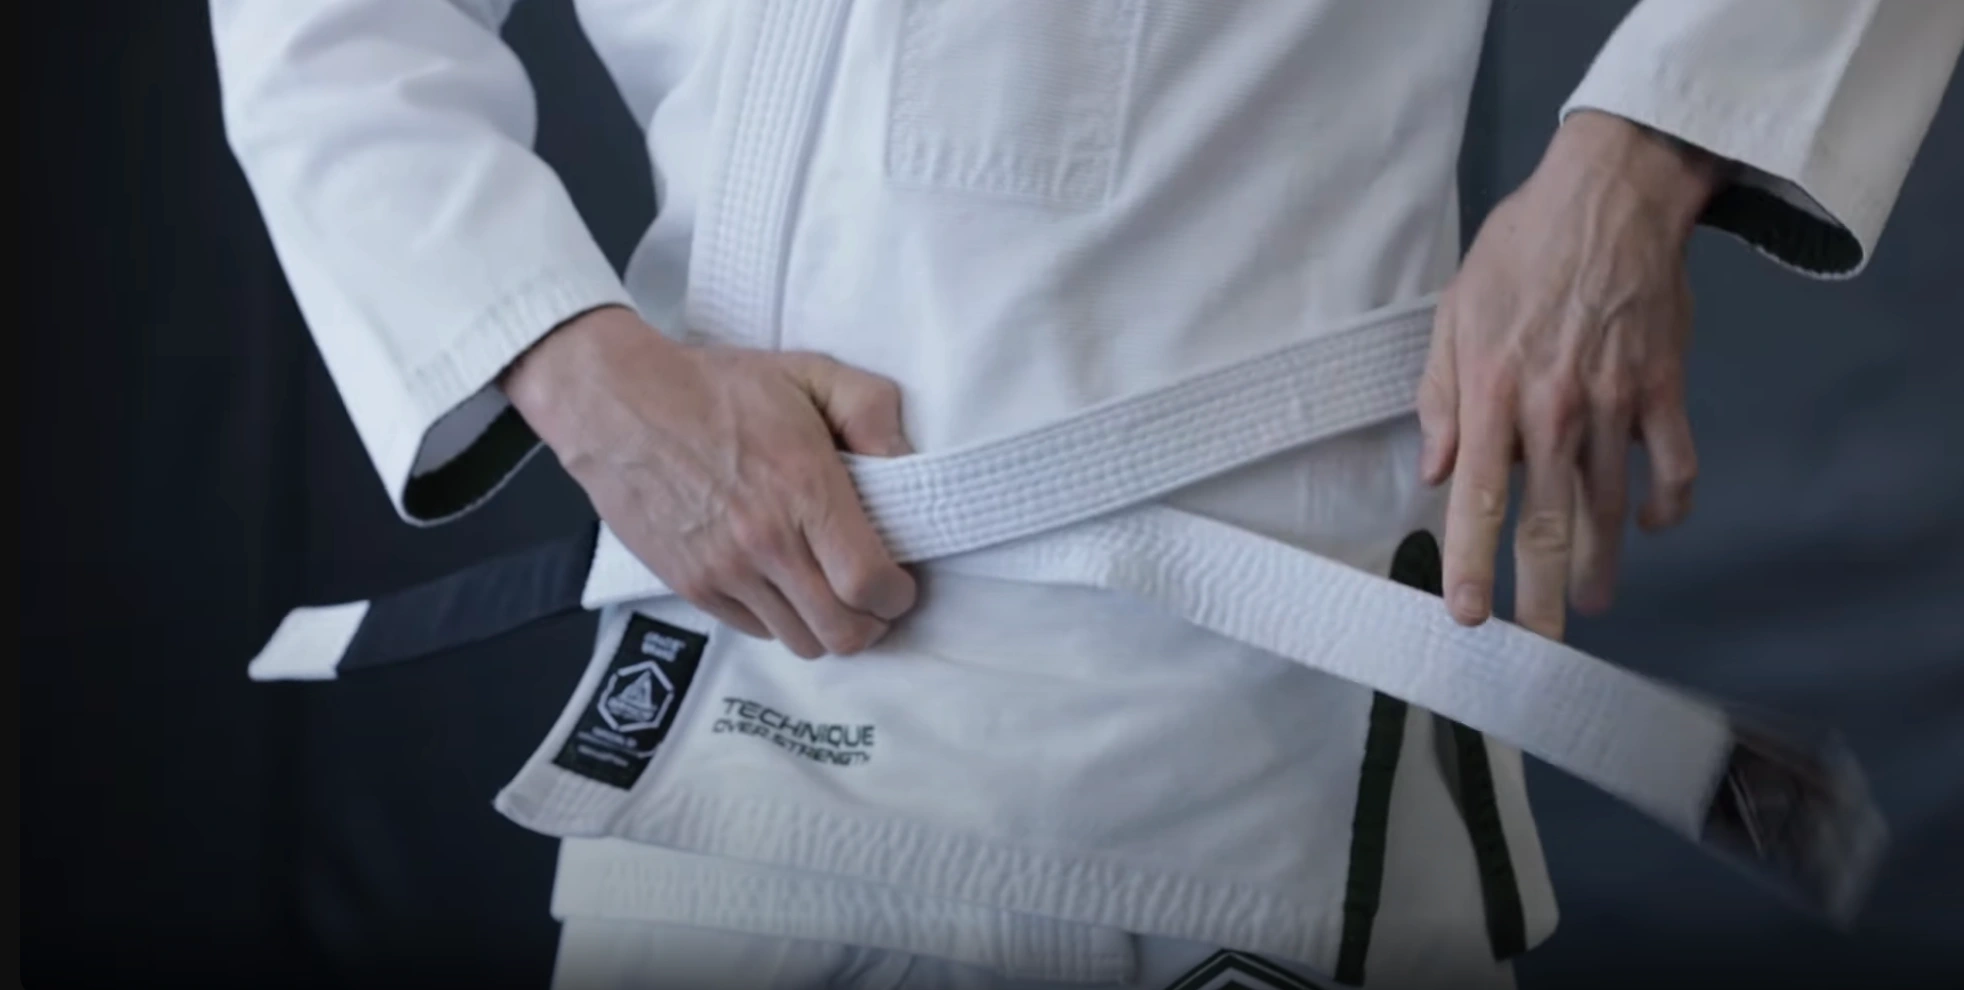
4. Form an X and secure the black-bar end
Cross the ends in front of you to form an X. Take the end with the black bar. Pull tightly to ensure equal lengths.
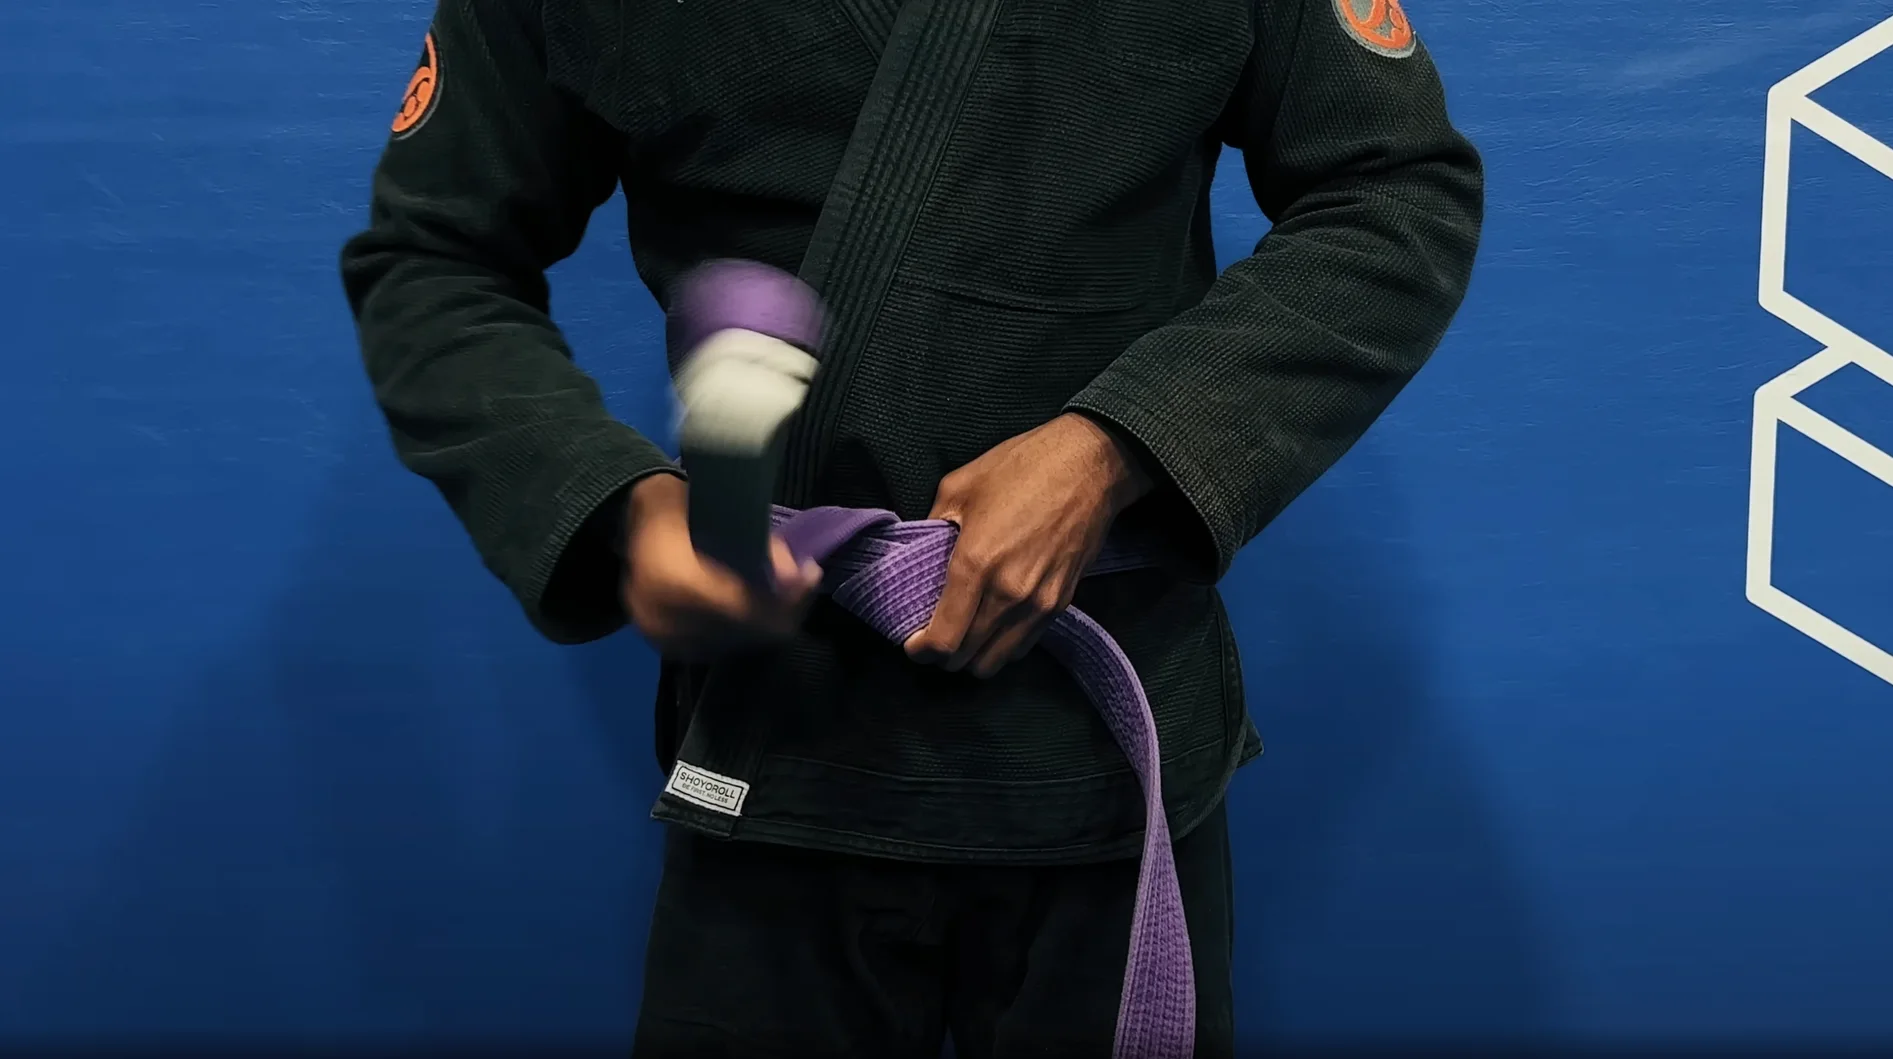
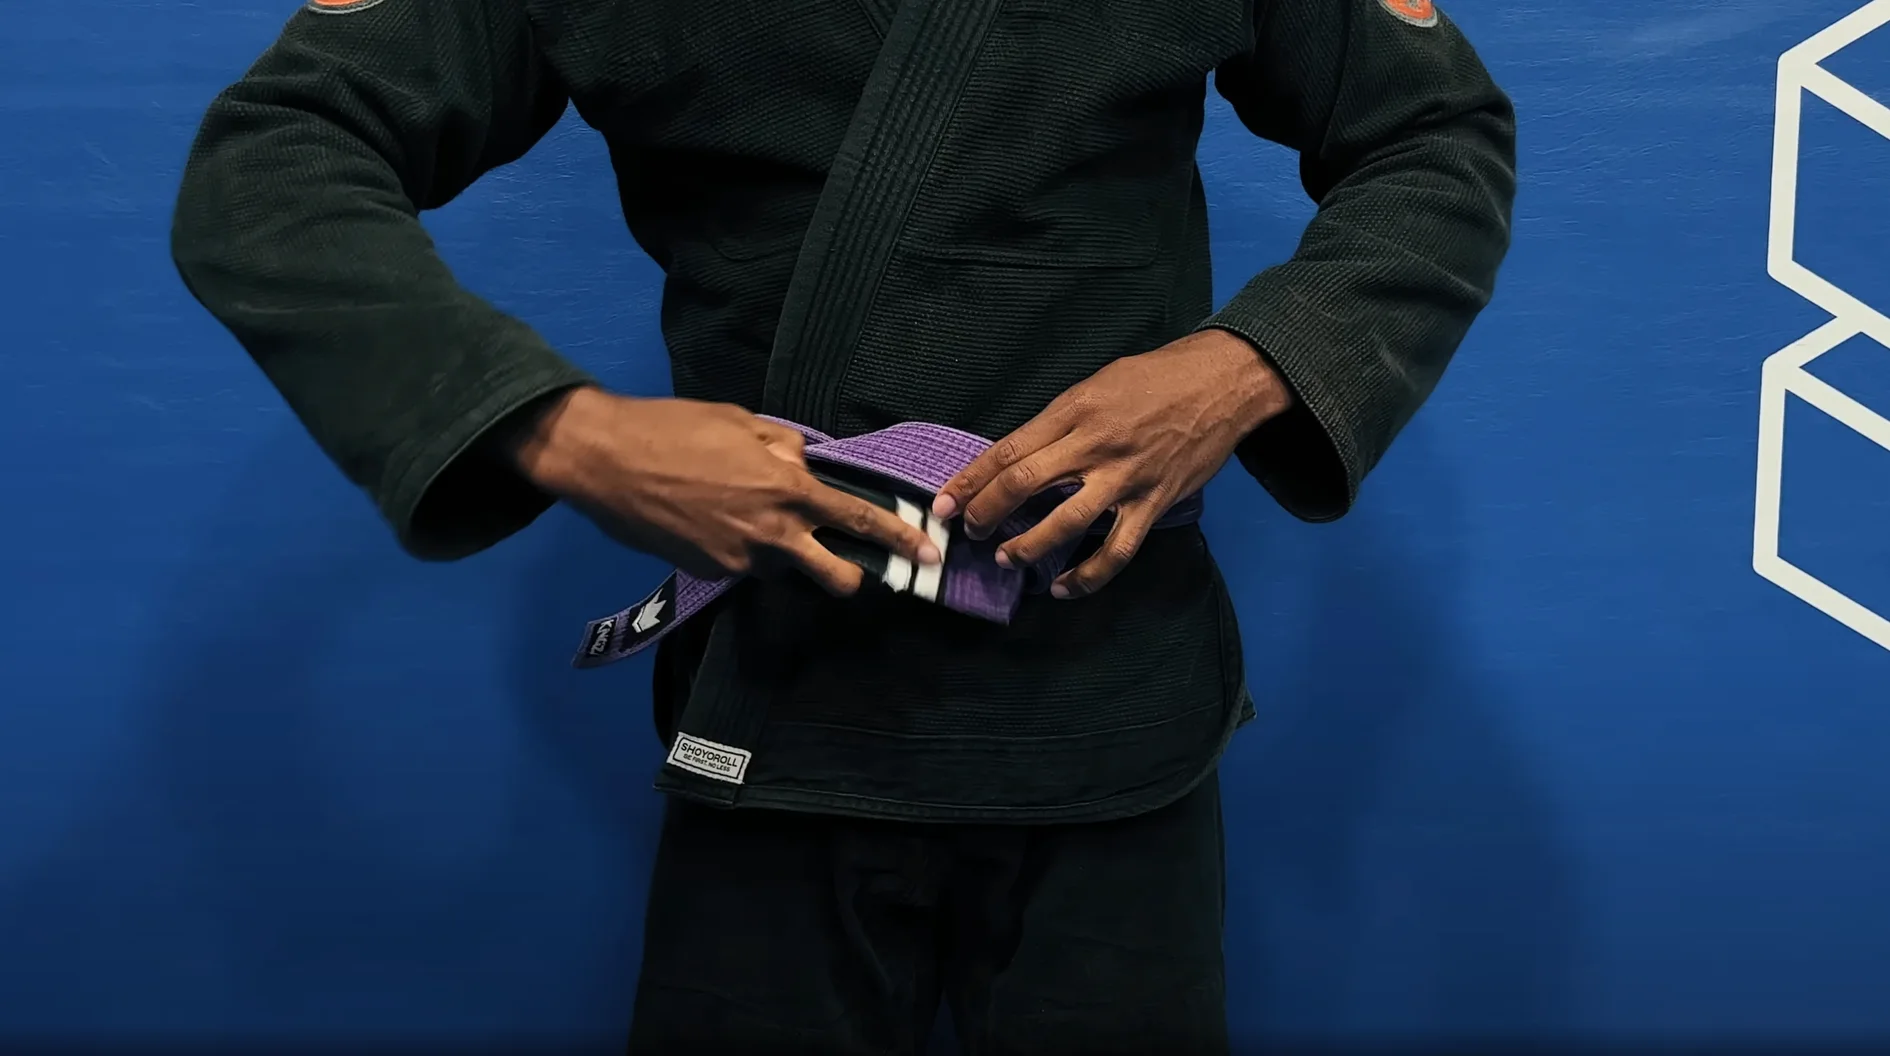
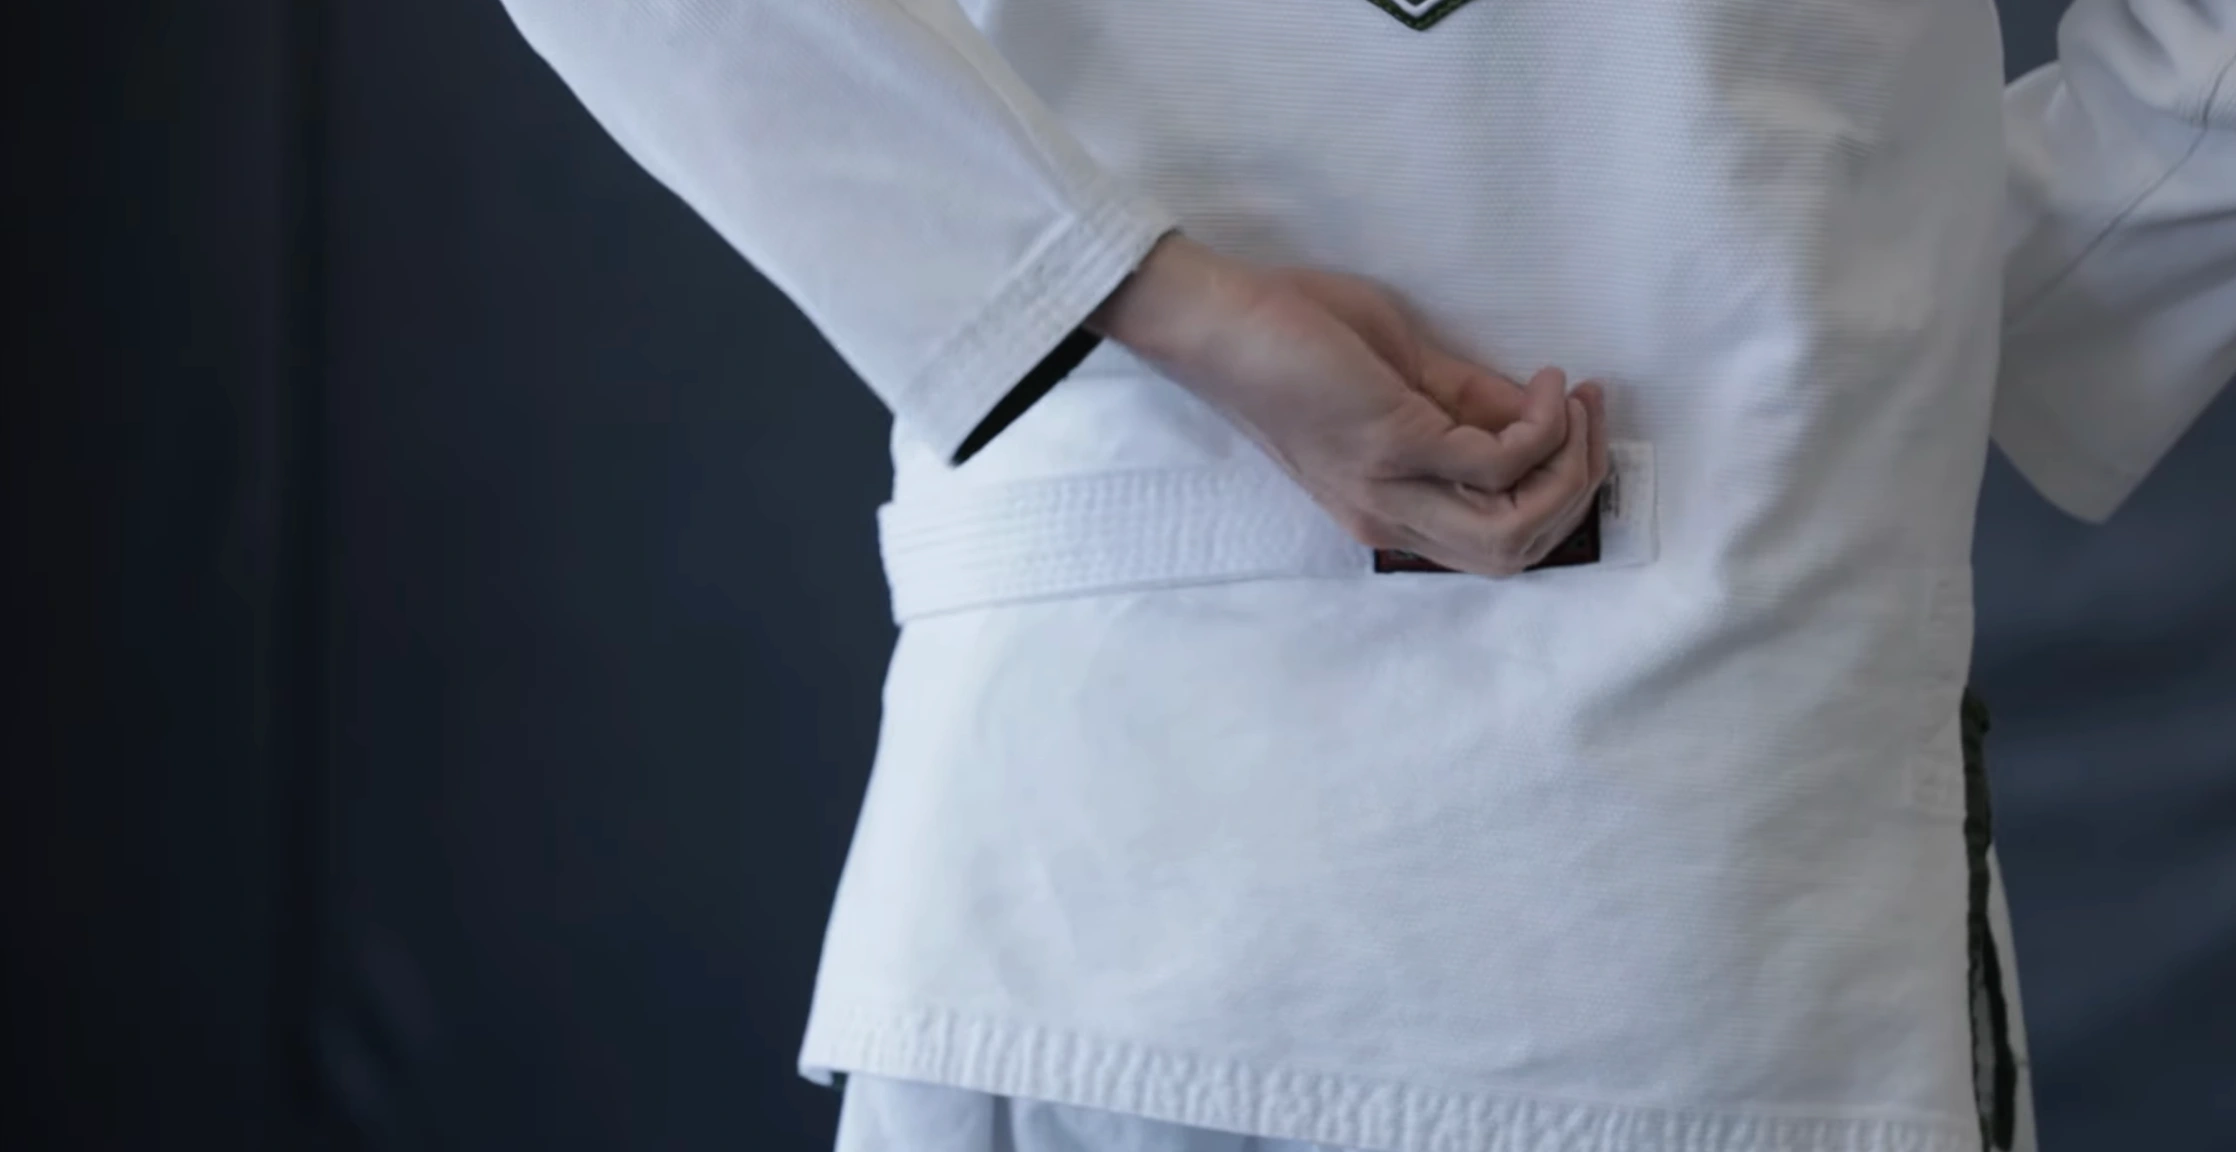
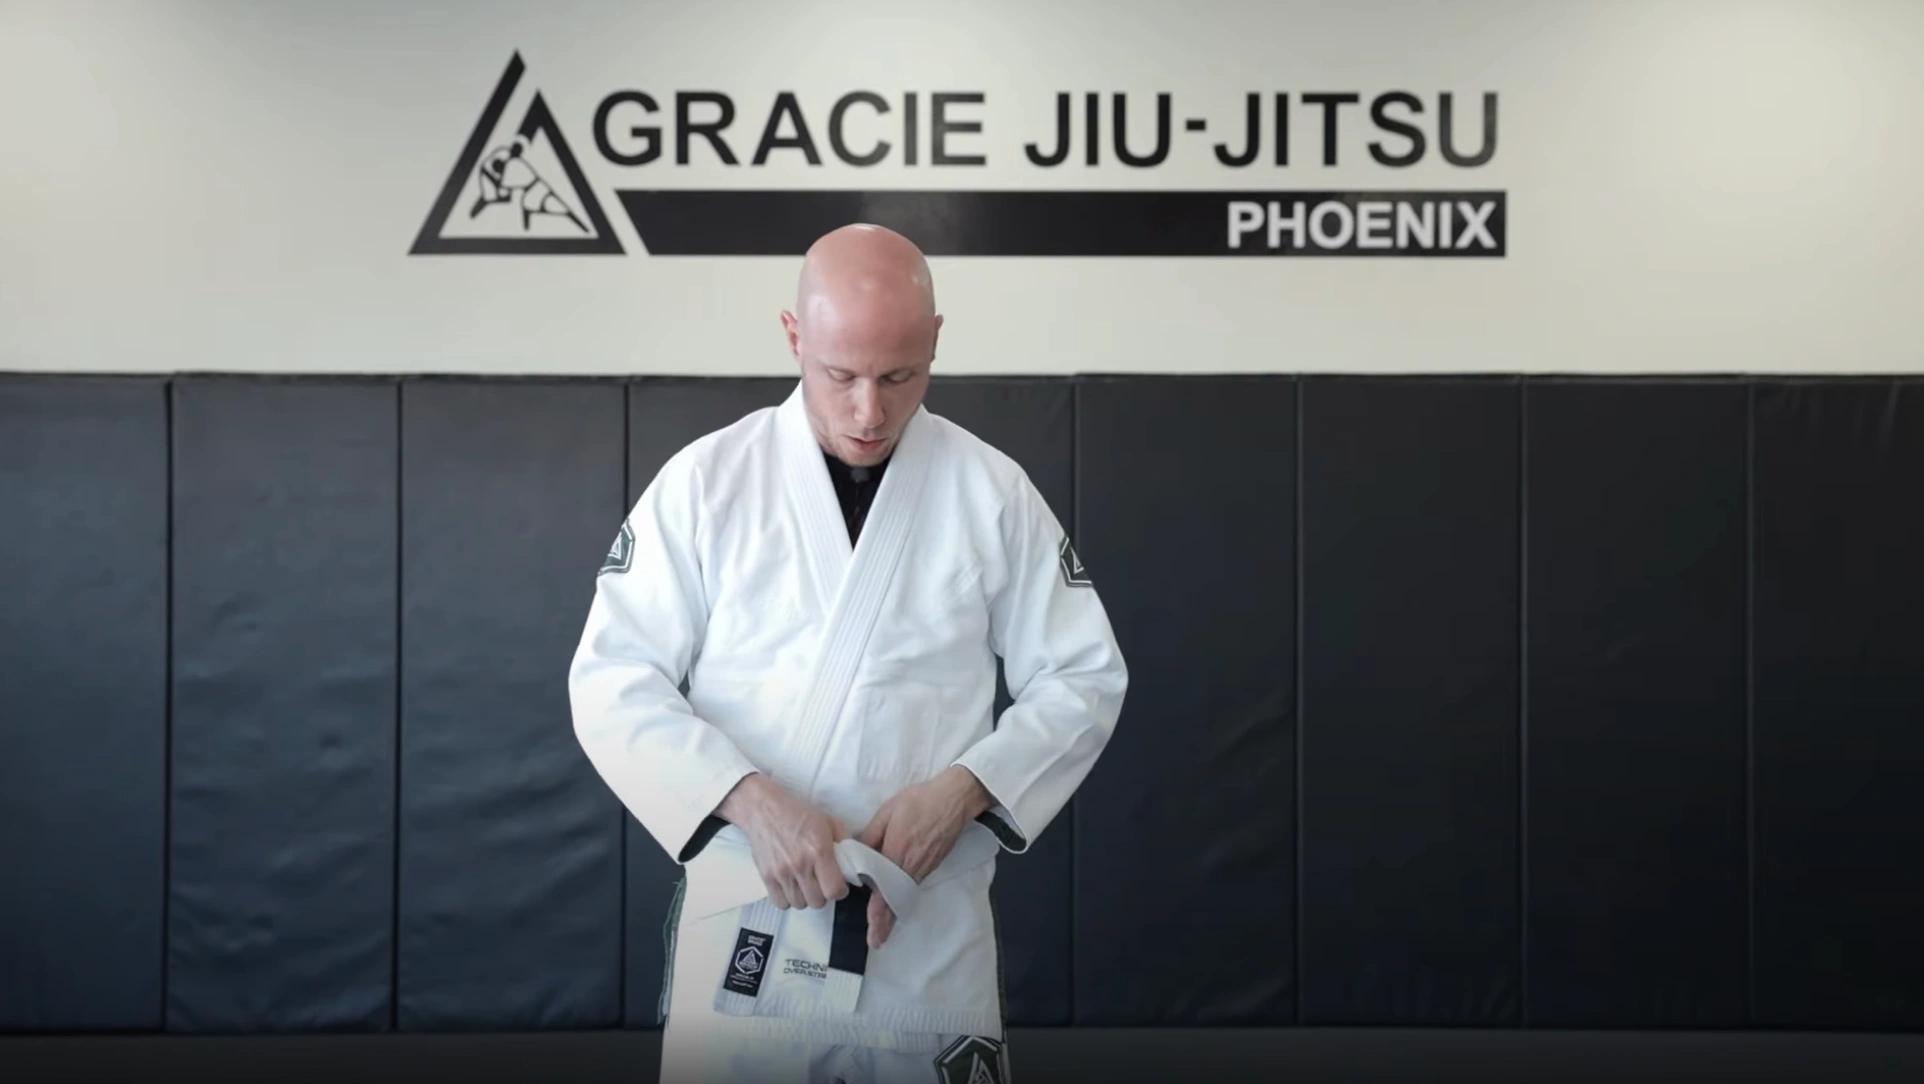
5. Hold and tuck the tail end
Hold the two belt loops in one hand and pull them slightly away from your body. With your other hand, take the end with the black bar and tuck it upward underneath the two loops where you created the gap.
6. Pull both ends to secure tightness
Once the tail end is tucked, hold both ends of the belt and pull them firmly in opposite directions to tighten the knot securely. This step ensures the belt stays in place during your training.
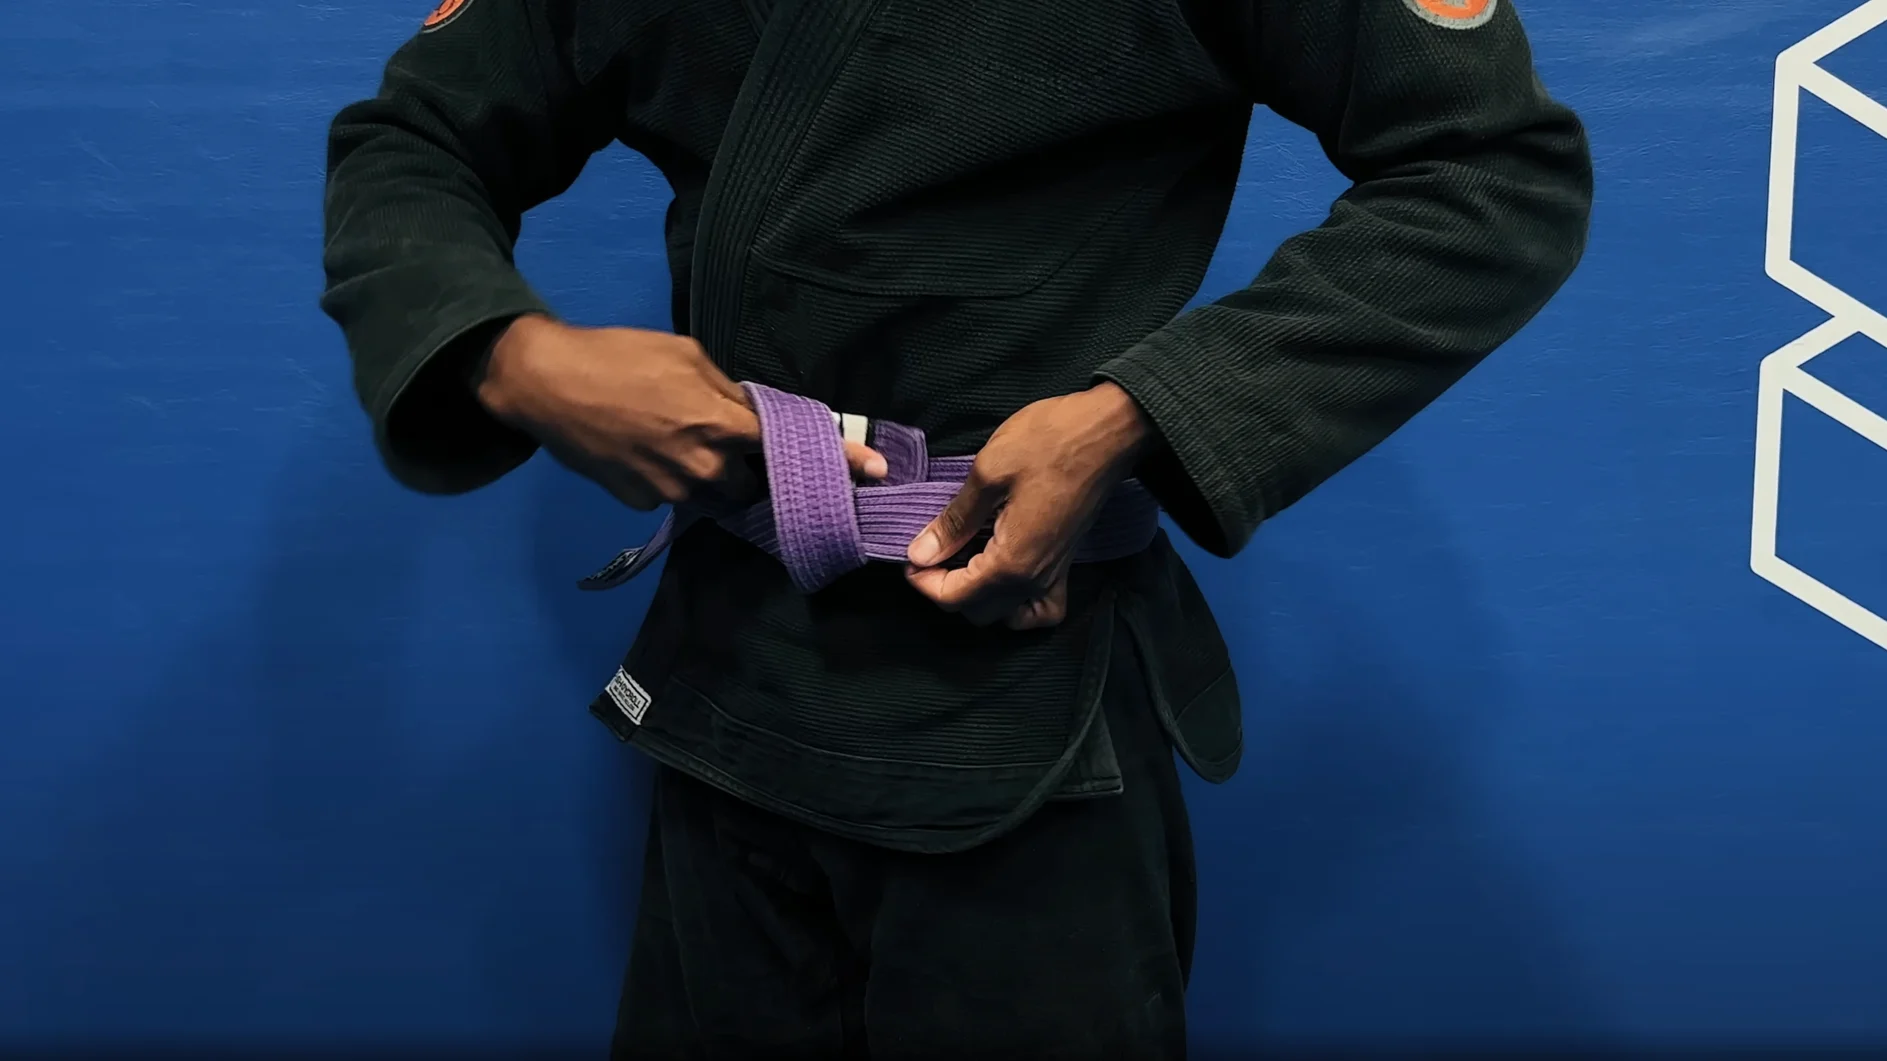
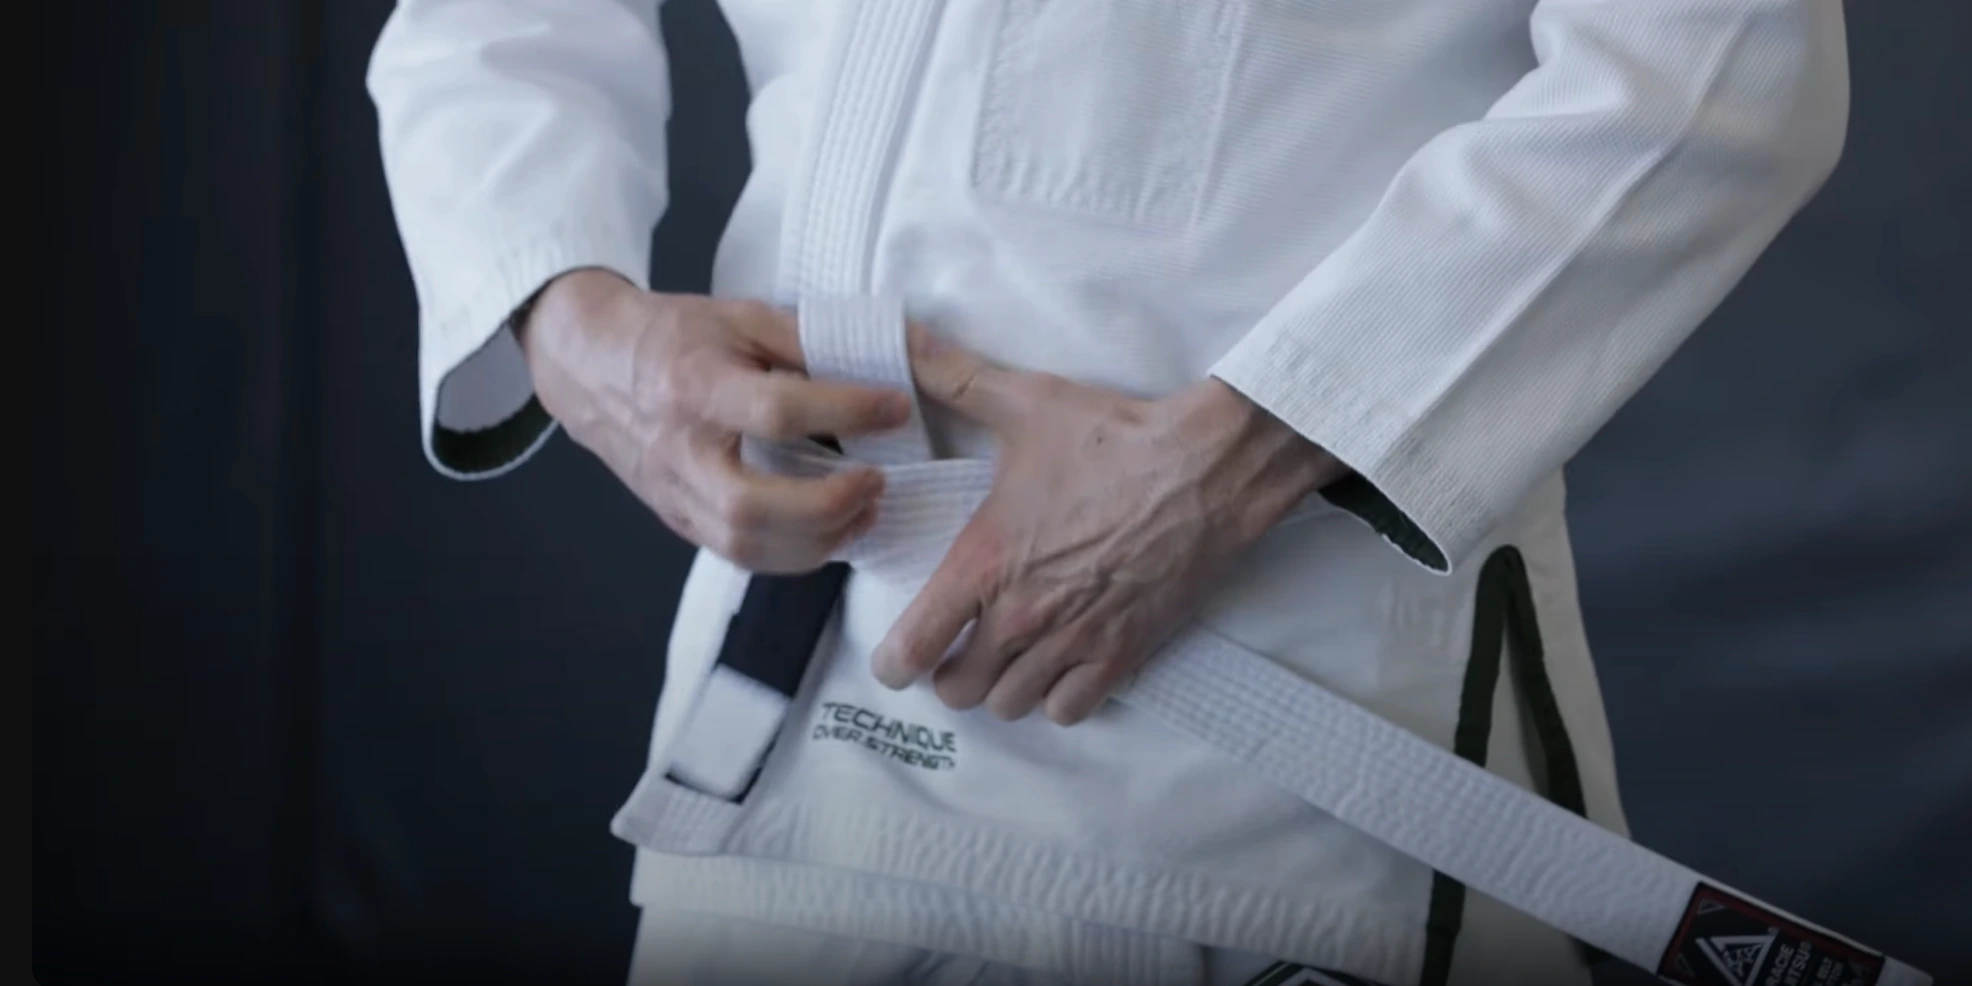
7. Create a large loop
Take the piece of the belt that's facing the ground and thread it between the two belt loop layers on your hip. This creates the loop needed to complete the knot.
8. Thread through the loop
Take the black-bar end and thread it through the large loop you created in the previous step.
9. Wedge the belt end between the loops
Carefully wedge the belt end between the two layers of belt loops. This step helps secure the foundation of the knot.
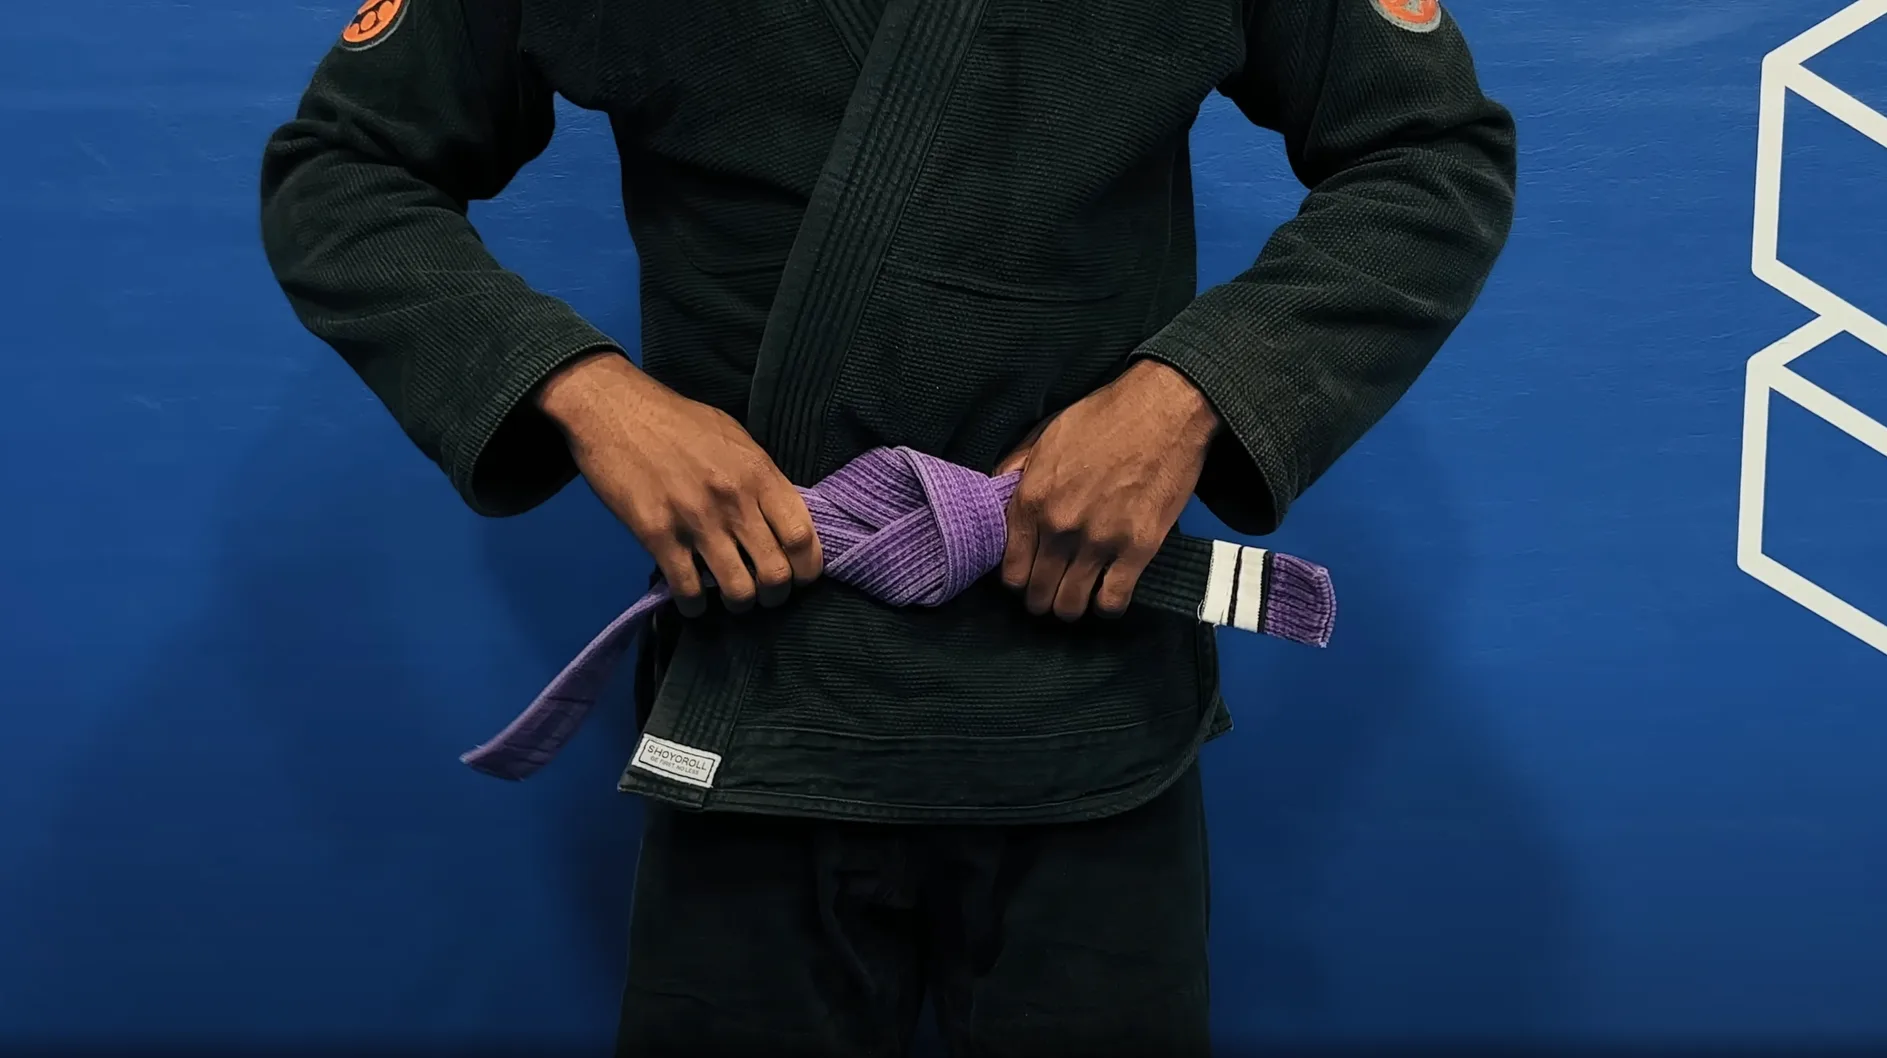
10. Tighten the knot
Pull both ends of the belt tightly to finish the knot. Adjust as needed for a secure and neat fit.
Check Out The Video:
How To Tie BJJ Belt Hollywood Variation
The Hollywood style of tying a BJJ belt is perfect for practitioners who value a clean and polished look. Unlike the Super Lock Variation, which creates two overlapping loops, the Hollywood Variation results in a single, sleek knot. This method ensures the neatest appearance on the mats, making it a favorite for photos, competitions, and anyone who wants their belt to look its best.
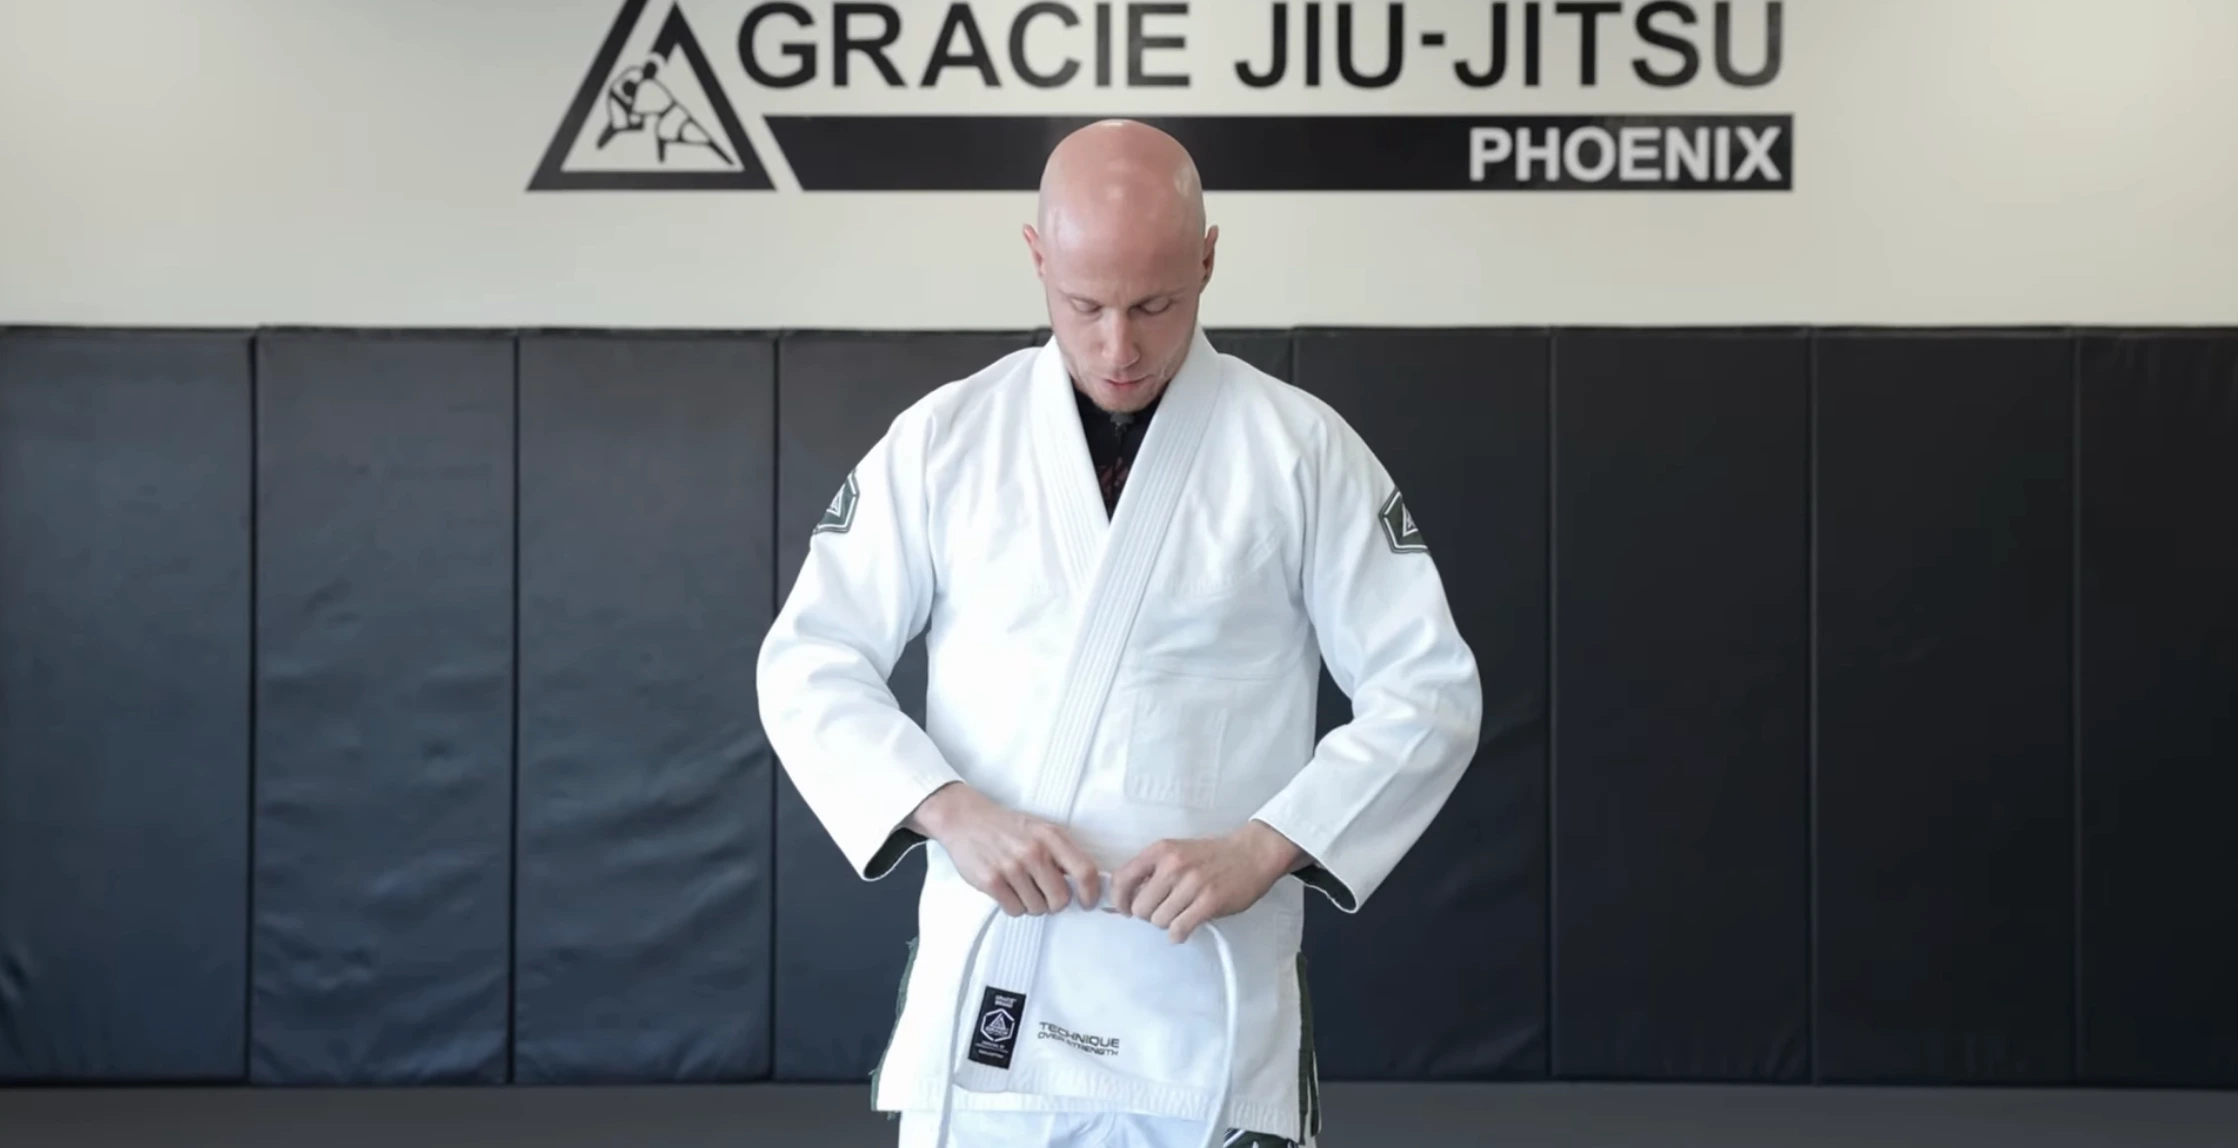
1. Ensure Your Gi Jacket Is Worn Correctly
Wearing your gi properly ensures a clean and professional look while helping to keep the belt secure during training. Make sure to fold the right side of your gi jacket underneath the left side for a traditional fit.
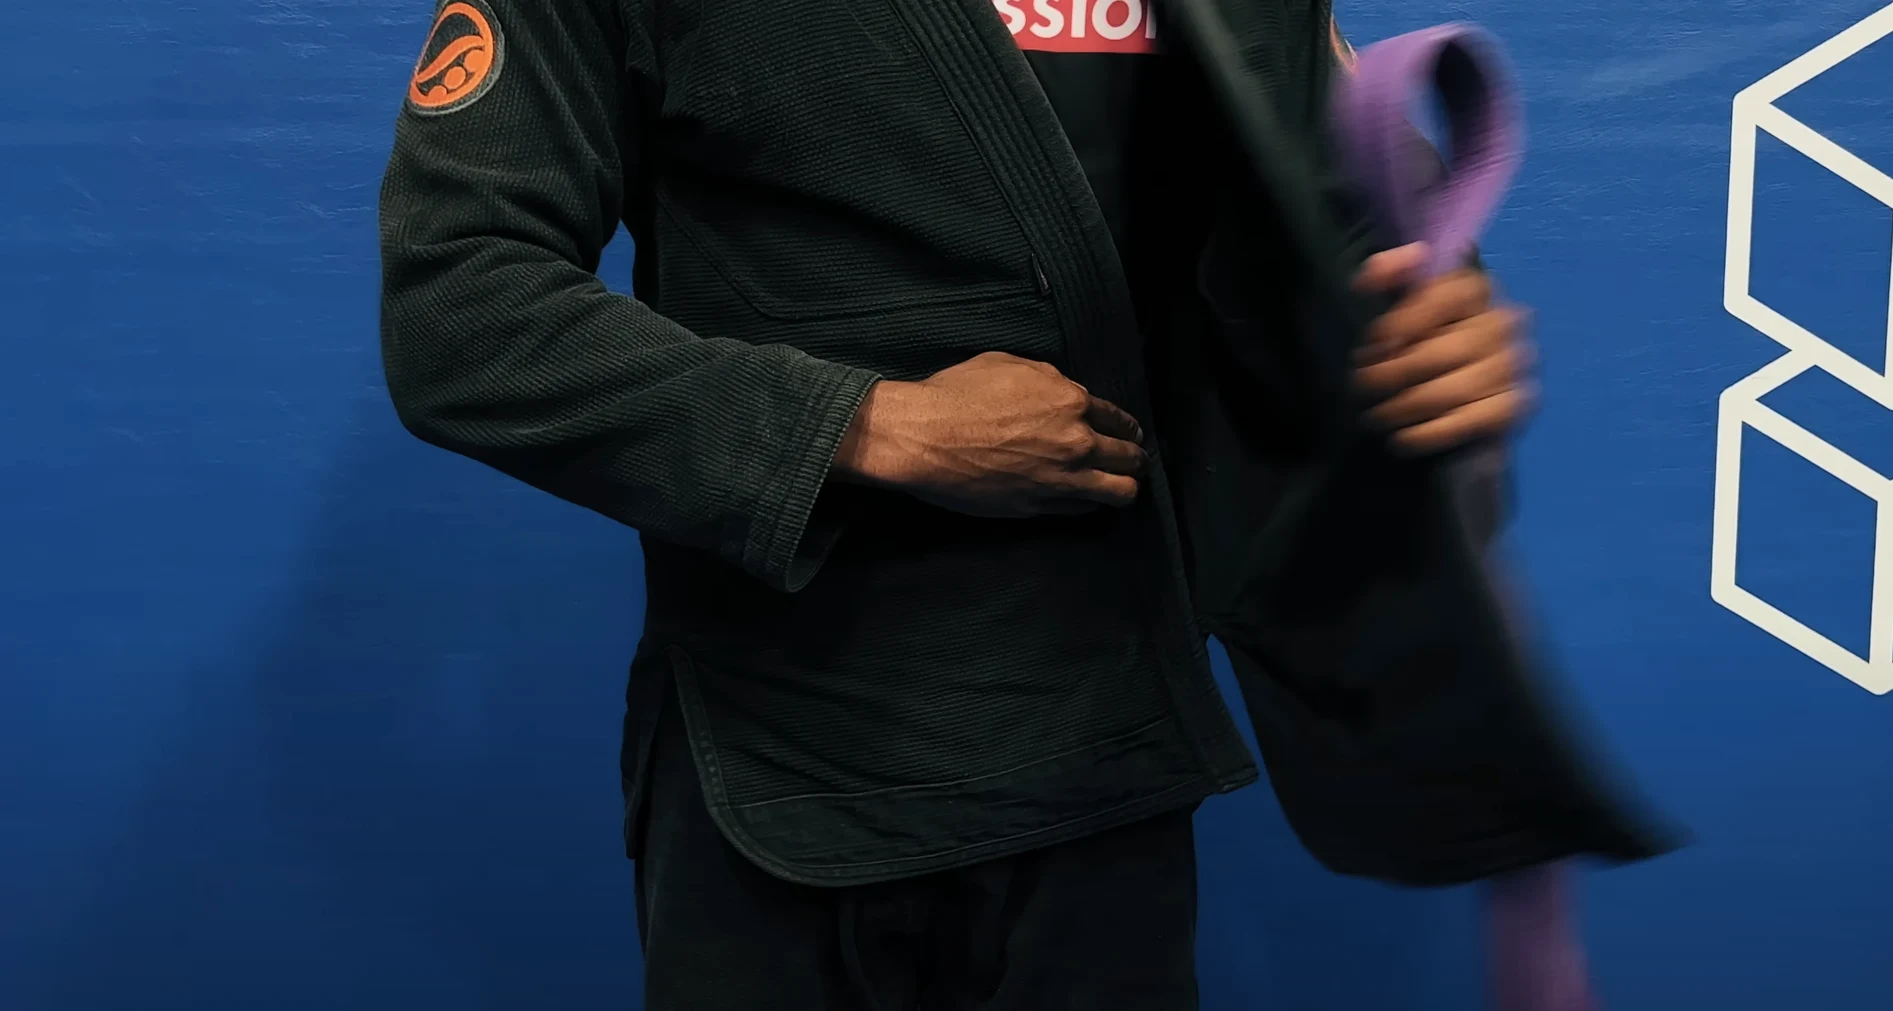
2. Place the End of Your Belt at Your Back
Take the end of your BJJ belt with the tag or logo and position it at your far hip or back, depending on the length of your belt. This placement ensures even wrapping.
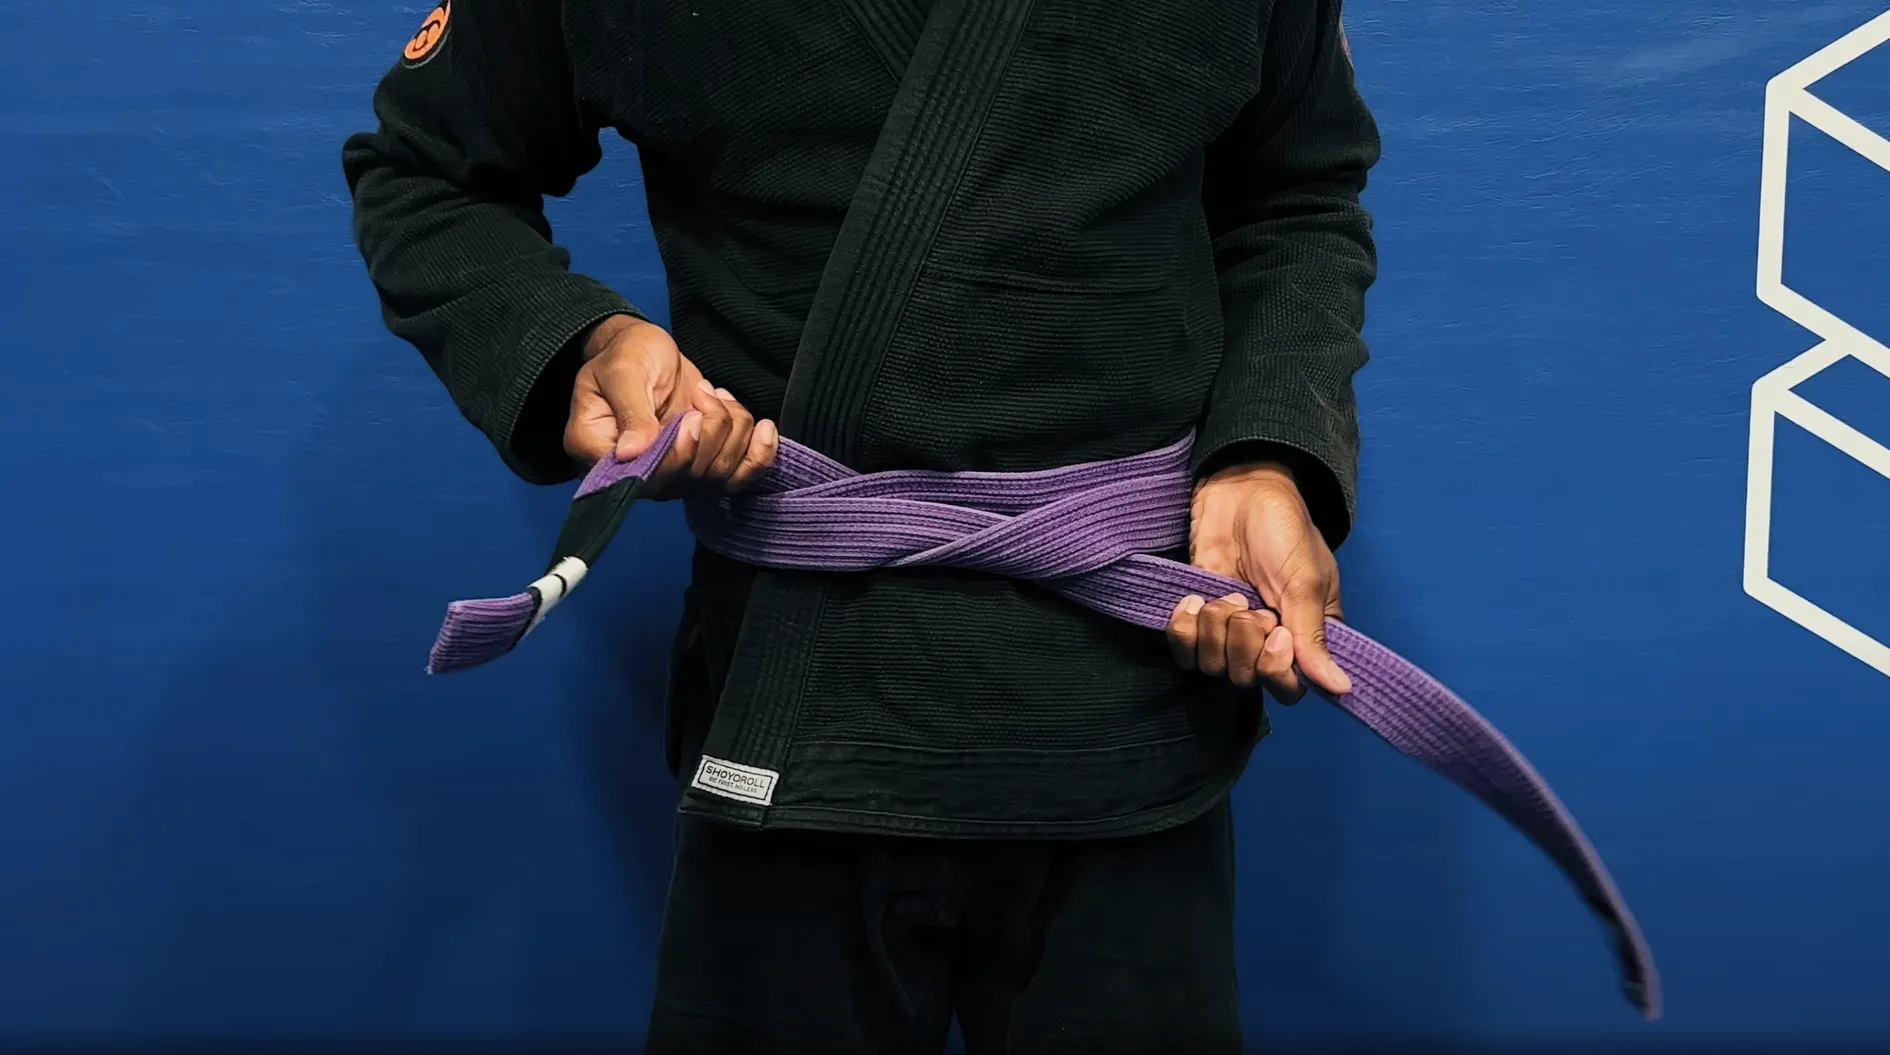
3. Wrap It Around Twice
Wrap the belt around your waist twice, keeping it flat and even as you go. Make sure the layers don’t overlap or twist.
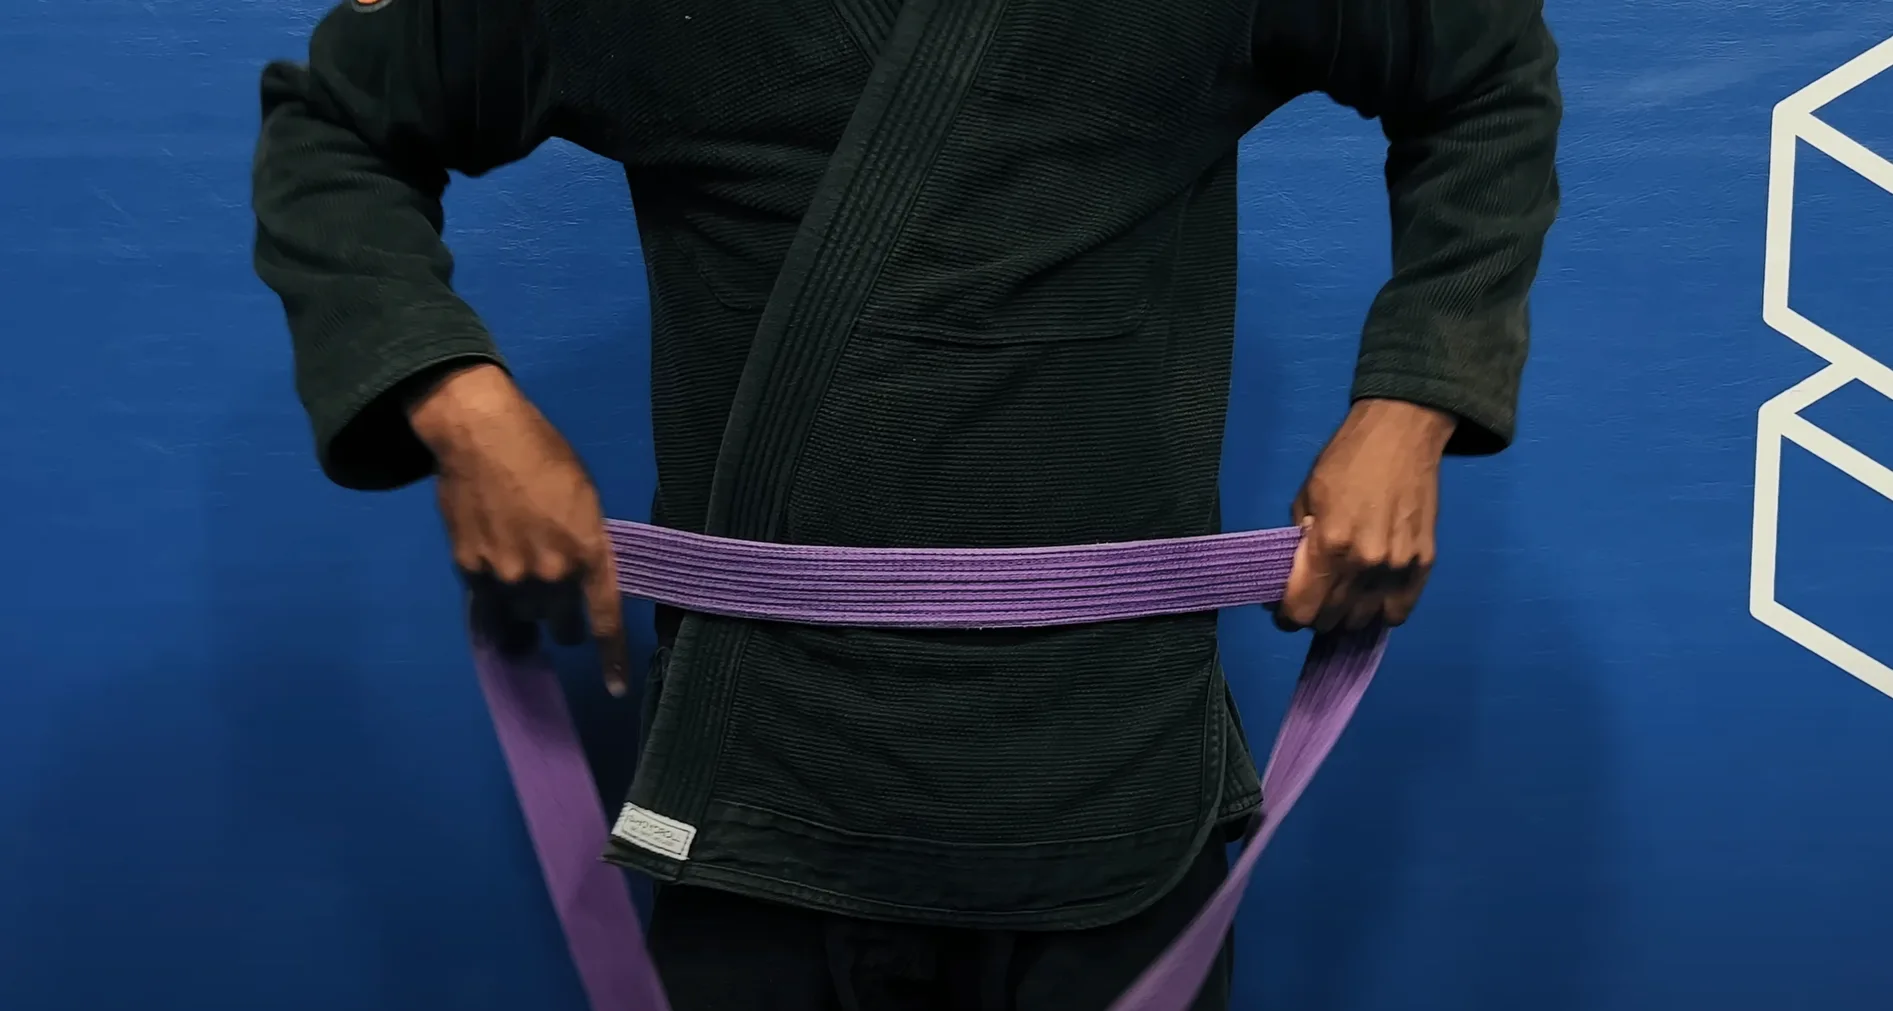
4. Push the Bottom Layer of the Belt Out
Adjust the belt so it sits neatly in the center of your stomach. Push the back layer of the belt down and out to ensure both layers sit flat and even.
5. Create Two Tails Again
With the belt adjusted, you should now have two tails. Take the end of the belt with the black bar and thread it up behind the two layers of the belt.
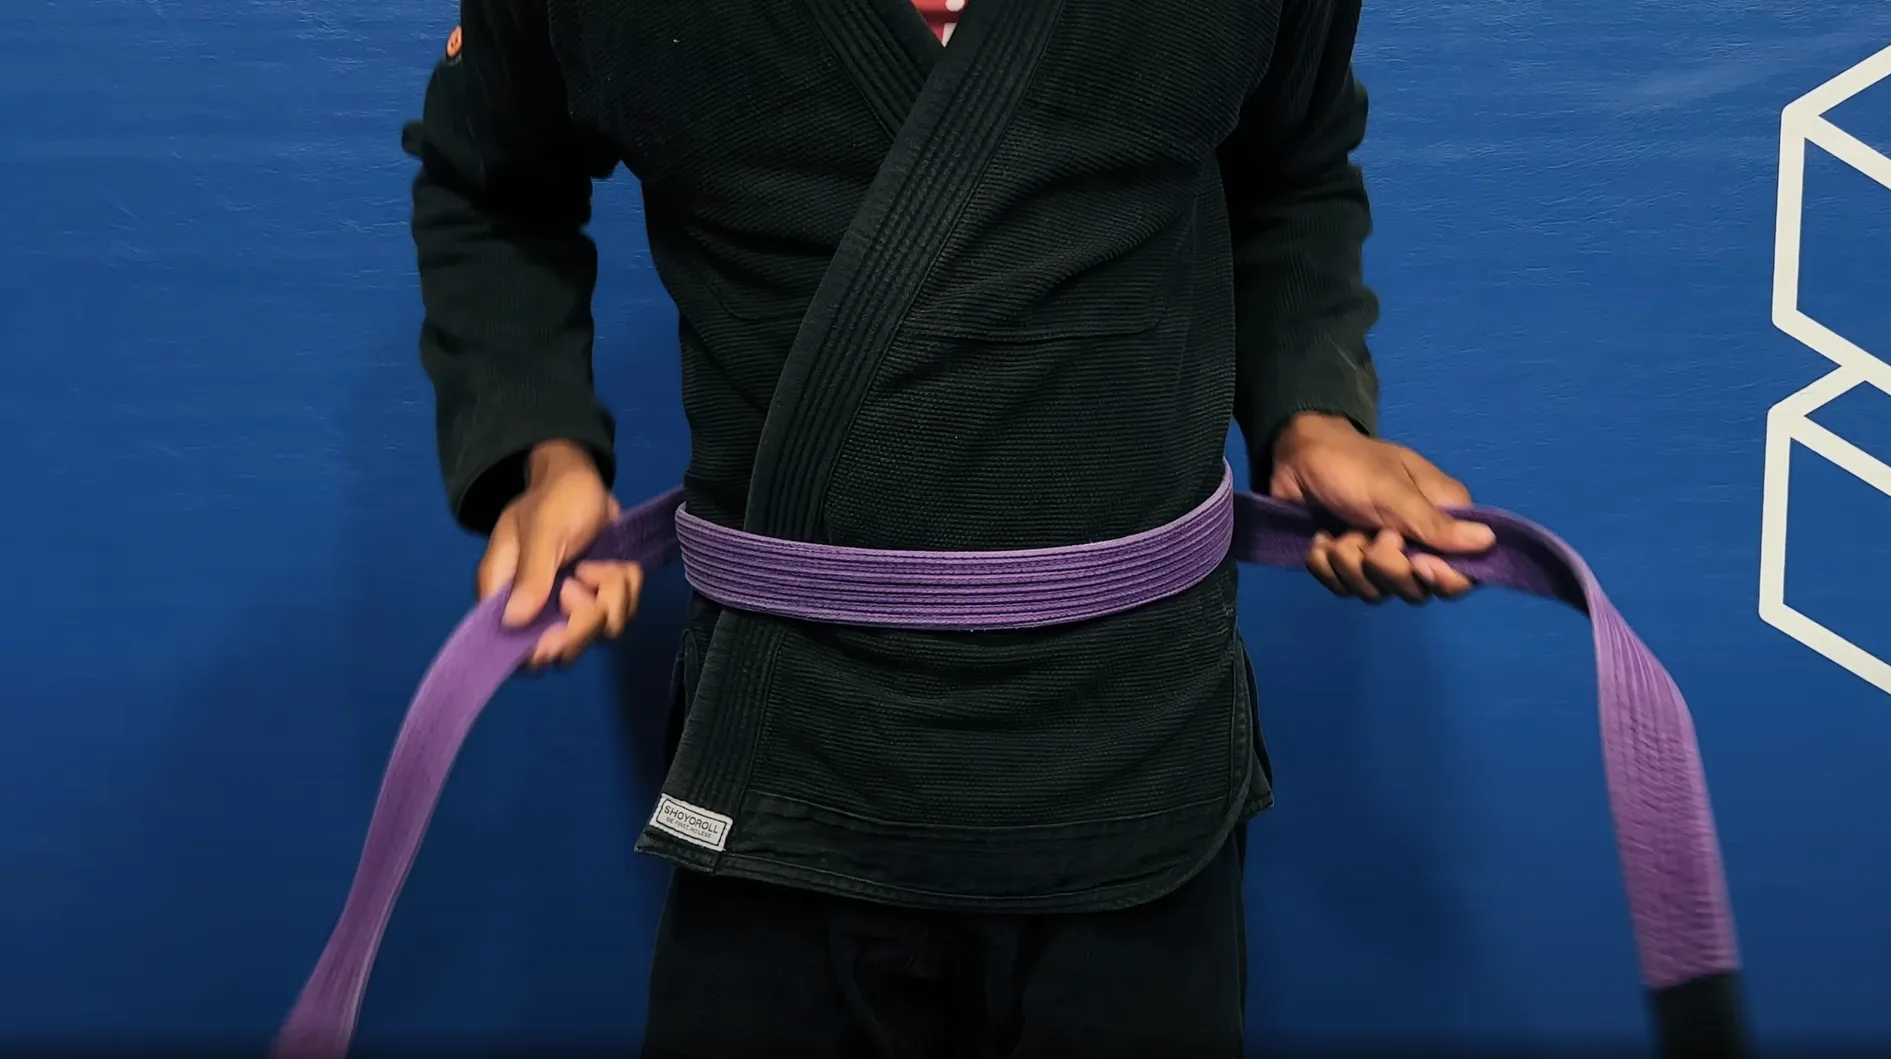
6. Pull Both Ends Slightly to Adjust Tightness
Pull both ends of the belt to tighten it slightly and ensure they are of equal length before proceeding.

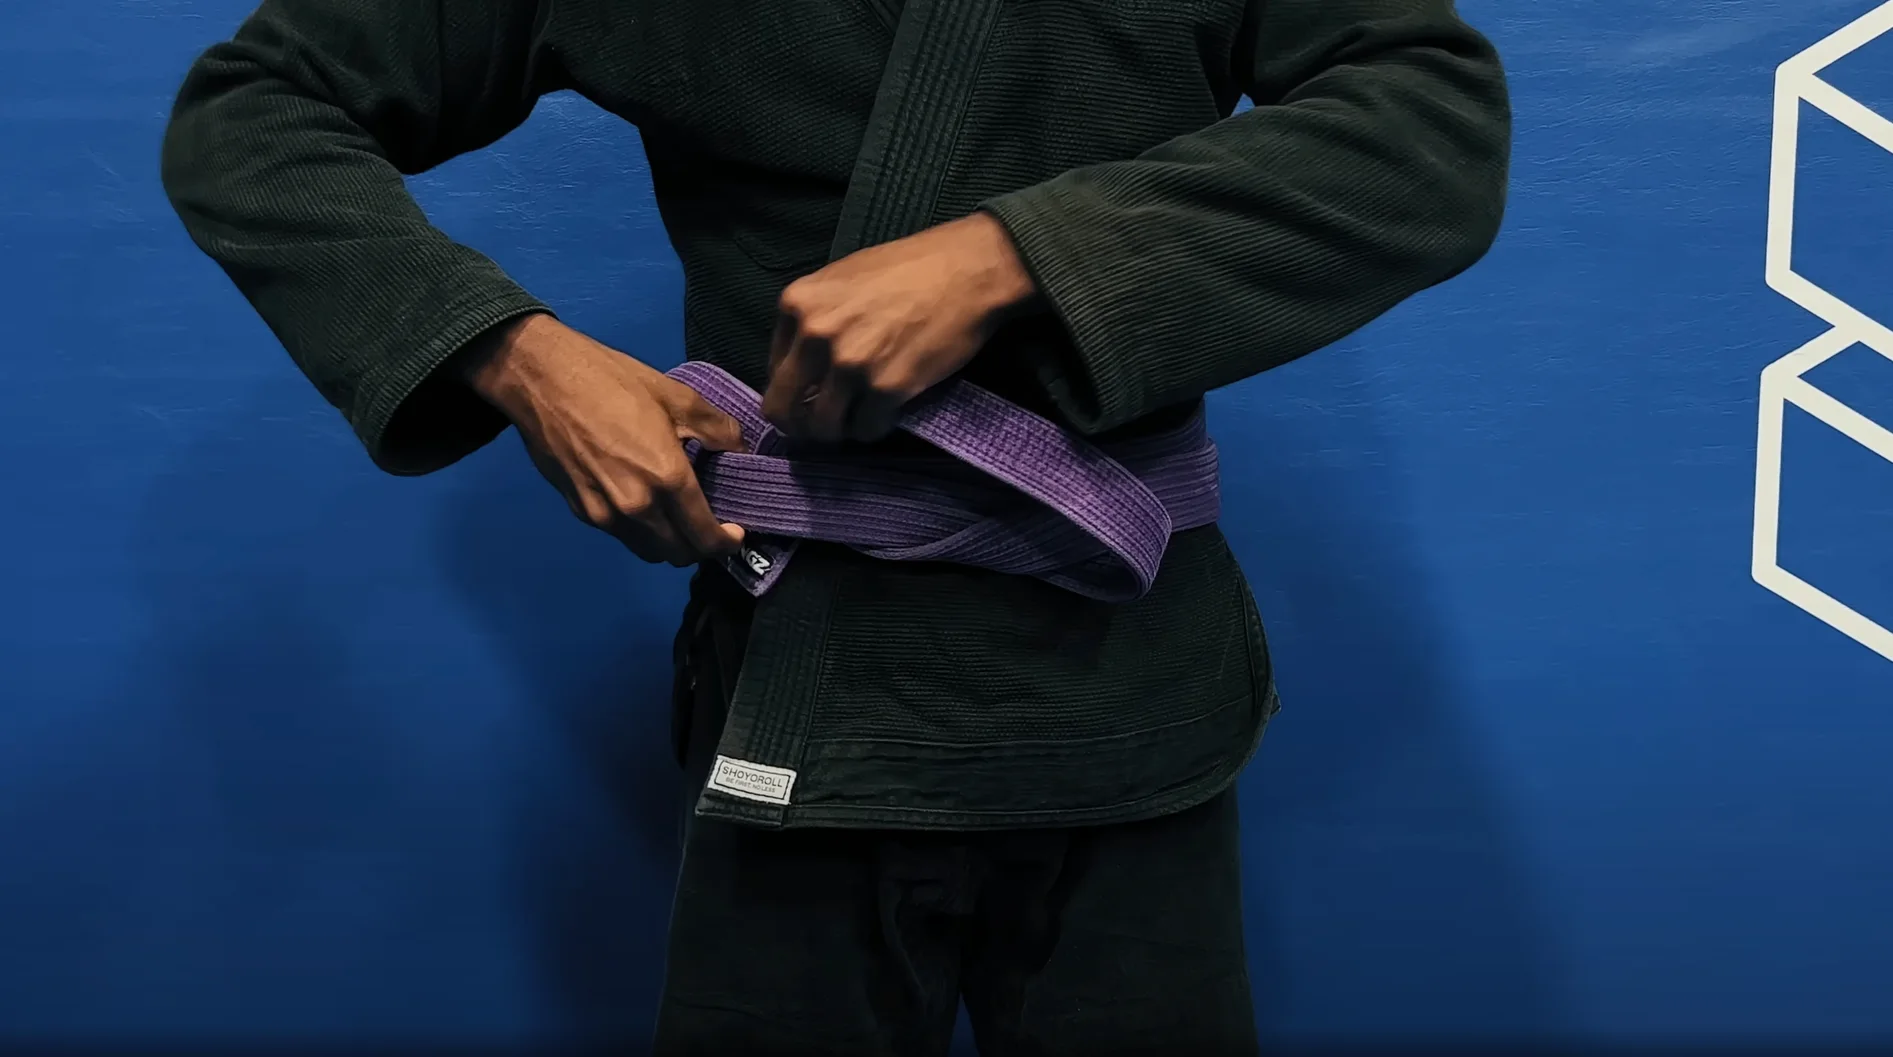
7. Make an X
Flip the bottom hanging piece of the belt over, then proceed to create an X shape with the two tails. This is a critical step to achieve the neat Hollywood style.

8. Pull the Black Bar End Through the Loop
Reach through the loop you’ve created and grab the black-bar end of the belt. Pull it all the way through the loop carefully to prepare for tightening.
9. Tighten the Knot
Once the black-bar end is through the loop, pull both ends of the belt tightly in opposite directions. This secures the knot and ensures a clean, polished look.
Check Out The Video:
Conclusion
Mastering how to tie your BJJ belt is an essential skill for every practitioner. Whether you prefer the secure Super Lock Variation or the neat and polished Hollywood Style, a properly tied belt ensures you’re ready to focus on your training without distractions. Practice these steps regularly, and soon tying your belt will feel as natural as stepping onto the mats. Stay consistent, train hard, and represent your journey with pride!